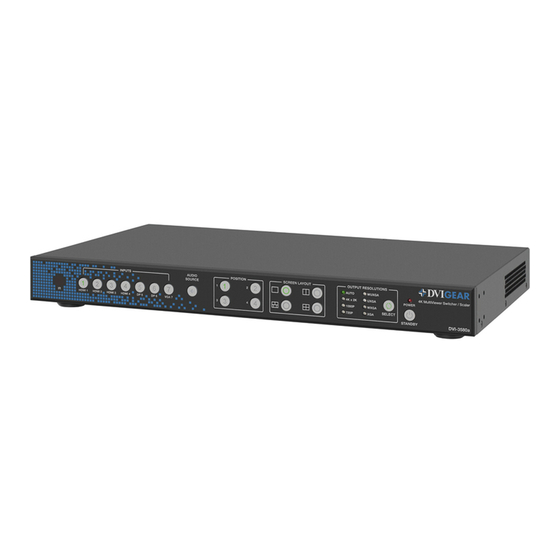
DVIGear DVI-3580a Краткое руководство по эксплуатации - Страница 6
Просмотреть онлайн или скачать pdf Краткое руководство по эксплуатации для Переключатель DVIGear DVI-3580a. DVIGear DVI-3580a 8 страниц. 4k multiviewer switcher, scaler
Также для DVIGear DVI-3580a: Краткое руководство по эксплуатации (9 страниц)

Switching Video Inputs
1.)
Single Window Layout Mode:
remote to set the unit to Single Window Layout Mode. The button indicator for window position 1
and the indicator for the selected input will light up. By default, HDMI 1 is assigned to window 1.
2.)
Select a Video Input:
3.)
Front Panel Status:
will be lit. Please note that seamless switching is only available in Single Window Layout Mode.
MultiViewer Setup Using the Front Panel or IR Remote
1.)
Select a MultiViewer Window Layout:
press the Double (
remote. This will set the output of the unit to display two, three, or four windows. On the front
panel, Window Position Buttons 1, 2, 3, and 4 will light up depending on which windows are active.
To access Quad Layouts 1-4 (see page 2), first press the Quad (
is set to Quad Mode, it is possible to cycle through Quad Layouts 1-4 by pressing the Quad button
again. Every press of the button will advance the unit to the next layout in the sequence.
2.)
MultiViewer Window Layouts:
4 separate windows. When using the front panel or IR remote, the video switching is performed
independently for each layout. Any video switching done in one layout will be stored for that layout
and will not affect the others (see the User Manual for more details). Any input signal can be
displayed in any window. By default, HDMI inputs 1-4 are assigned to window positions 1-4.
3.)
Assigning an Input to a Window:
IR remote. Depending on which window layout is active, the video position 1, 2, 3, and 4 button
indicators will blink, showing which buttons can be selected. In this state, a selection must be
made within 5 seconds or the unit will return to normal. Next, press one of the window position
buttons on the front panel or on the IR remote to assign the selected input to that window. Other
inputs can be assigned to the other window positions using the same method.
4.)
Front Panel Status:
performed, the input indicators will be off and the front panel status will return to normal.
Changing Output Resolutions
The DVI-3580a includes 2x mirrored outputs: 1x HDMI and 1x HDBaseT. These outputs support several
user-selectable resolutions (see page 8). Use any of the control methods to select the resolution.
To change output resolution using the front panel or IR remote, press the Output Resolution Selection
Button (Resolution on the IR remote). The unit will advance the selection to the next output resolution
in the sequence. Once the selection is complete, the corresponding LED will light up continuously.
The switching sequence is as follows:
Auto
4K x 2K 1080p 720p WUXGA UXGA WXGA XGA Auto
(3)
Note 3: When the output is set to Auto, the unit will read the EDID information from the display device and select
the available output resolution that best matches the native timing of the display. Use the Web GUI or RS-232 /
IP commands to assign EDID priority to the HDMI output or the HDBaseT output.
6
Use the Single window button (
Press an input button on the front panel or on the IR remote.
After the seamless switch has been performed, the selected input indicator
), Triple (
), or Quad (
The video output will now display multiple input signals in up to
First, press an input button (1-7) on the front panel or on the
After the layout selection and window position assignments have been
To display multiple inputs on the screen simultaneously,
) window buttons on the front panel or on the IR
) on the front panel or on the IR
) window button. Once the unit
(3)
