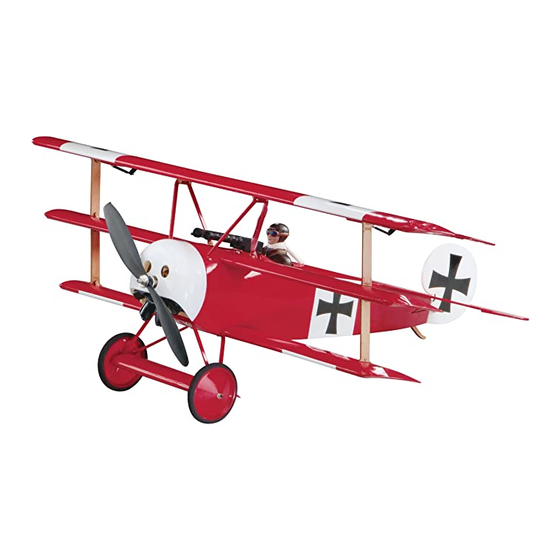
GREAT PLANES fokker DR-1 Руководство по эксплуатации - Страница 10
Просмотреть онлайн или скачать pdf Руководство по эксплуатации для Игрушка GREAT PLANES fokker DR-1. GREAT PLANES fokker DR-1 20 страниц.

arms. Insert a screw-lock pushrod connector in the hole of
each servo arm approximately 9mm [11/32"] from the center
of the servo. Secure the screw-lock pushrod connector to the
servo arm with a nylon retainer.
❏
2. Position the servos on the servo rails, aligning them with
the pushrod wires. Drill a 1.6mm [1/16"] hole through each
of the mounting holes in the servo. Install and then remove
a servo mounting screw into each of the holes you drilled.
Apply thin CA into each hole to harden the threads. After the
glue has hardened, plug the ESC, rudder and elevator servos
into the receiver. Switch on the transmitter and then plug a
battery pack into the ESC. Center the trims on the transmitter
and re-center the servo arms on the servos if necessary so
that the arm is perpendicular to the centerline of the servo.
Insert the rudder and elevator pushrod wires into the screw-
lock pushrod connectors and install the rudder and elevator
servos on the servo rails. Use the hardware included with the
servos to mount the servos to the rails.
❏
3. Center the elevator control surface and tighten the
set screw in the screw-lock pushrod connector against the
elevator pushrod.
❏
4. Follow the same procedure to secure the rudder pushrod.
❏
5. Clean the cases of both aileron servos with denatured
alcohol. Use CA to glue the aileron servos on the bottom of
the aileron servo hatches so that the servo arm is centered
in the opening. Cut off all of the unused servo arms as you
did in Step 1. If you prefer, wrap electrical tape or heat-shrink
tubing around the servos before gluing them to the servo
hatch. This will allow the servos to be removed easily.
❏
6. Inside the aileron servo bays of the top wing, there is
a string that runs from one bay to the other. Plug the left
aileron servo into a 610mm [24"] Y-harness and tie the string
around the right aileron servo plug. Be sure to secure the left
aileron servo connection with heat-shrink tubing.
TIP: After tying the string to the right aileron servo plug,
use tape to keep the string and plug headed in the same
direction. This accomplishes two things; it keeps the plug
from doubling back over itself and keeps the string securely
fastened to the plug.
❏
7. Carefully pull the other end of the string until the Y-harness
is near the small opening near the center of the top wing.
Note: Standard size servo connectors have to be worked
through the wing slowly and carefully so as not to damage
the structure of the wing. Be patient. This can be a rather
long step.
❏
8. Carefully use a bent paper clip or some type of grasping
device to carefully pull out the connector for the receiver.
Leave the right aileron servo connector tied to the string.
❏
9. Continue pulling the string until the right aileron connector
enters the right aileron bay. Disconnect the string and plug in the
right aileron servo. Secure the connection with heat-shrink tubing.
10
