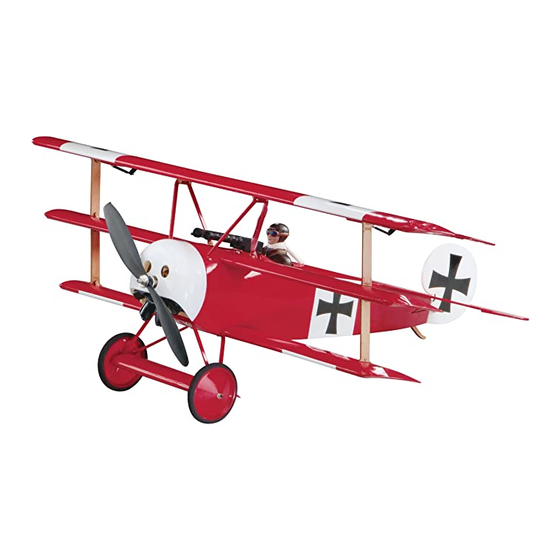
GREAT PLANES fokker DR-1 Руководство по эксплуатации - Страница 11
Просмотреть онлайн или скачать pdf Руководство по эксплуатации для Игрушка GREAT PLANES fokker DR-1. GREAT PLANES fokker DR-1 20 страниц.

❏
10. Secure each aileron servo hatch to the wing with four
2mm x 6mm [5/64" x 15/64"] self-tapping washer head screws.
❏
11. Test fi t the control horns into the small rectangular
holes along the LE of the bottom of each aileron as shown.
When satisfi ed with their fi t, CA them in place as shown.
❏
12. Install one 35mm [1-3/8"] aileron pushrod in the outer
hole of the aileron servo arm and another in the outer hole of
the aileron control horn. Slide one of the included pieces of
heat-shrink tubing over the pushrods. With the radio system
on and the aileron servo trim lever centered, shrink the heat-
shrink tubing over the pushrods and apply a couple of drops
of thin CA to the tubing. Note: A hot soldering iron works
great for shrinking the heat-shrink tubing. Place the top wing
aside for the time being.
❏
13. Make a small hole in the bottom sheeting. Route the
antenna out of the hole and tape it to the bottom of the fuse
with clear tape.
❏
14. Run the Y-harness receiver plug from the top wing
through the slot on the top of the fuse and plug it into the
appropriate receiver channel. Re-install the bottom wing.
FINISH THE MODEL
Install the Middle Wing
❏
1. Locate the two remaining 3mm x 24mm [1/8" x 15/16"]
dowel rods and insert them into the middle wing as shown,
so that only about 9mm [11/32"] sticks out. Secure them with
medium CA.
❏
2. Place the middle wing on the wing saddle as shown
and secure it with two 3mm x 24mm [1/8" x 15/16"] machine
screws and 3mm [1/8"] washers. The fl at side of the wing is
the bottom.
11
