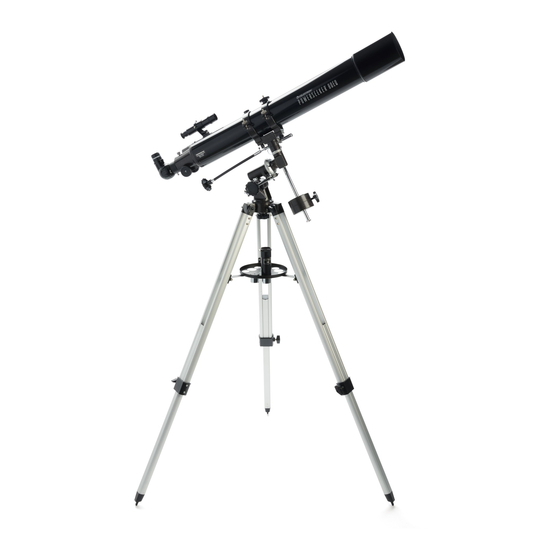
Celestron POWERSEEKER 80 EQ Руководство по быстрой настройке - Страница 2
Просмотреть онлайн или скачать pdf Руководство по быстрой настройке для Телескоп Celestron POWERSEEKER 80 EQ. Celestron POWERSEEKER 80 EQ 10 страниц. Celestron power seeker telescope instruction manual eq 80
Также для Celestron POWERSEEKER 80 EQ: Руководство по эксплуатации (20 страниц)

Quick Set-up Guide [cont]
10
Locate the counterweight bar and counterweight. Slide the
counterweight half way down the counterweight bar and
tighten the knob to secure in place.
13
The longer cable should attach to the Right Ascension axis
and the shorter cable attaches to the Declination axis –
tighten screw to secure in place.
16
Reattach both knobs and tighten to secure in place. The front
of the tube should be positioned over the counterweight
assembly.
19
Loosen the set screws on the focuser so that they do not
obstruct the inner diameter of the focuser. Insert diagonal
into the focuser and tighten the set screw.
22
For additional magnification, you can use the included 3x
barlow. Place the barlow in the focuser in place of the
eyepiece – remove the cap from the barlow.
11
Thread the threaded end of the counterweight bar into the
Dec axis of the equatorial mount.
14
Before mounting the tube, remove the two knobs on the
tube.
17
Locate the finderscope and remove plastic caps on front and
back of lens. Remove the knurled nuts at the focuser end of
the telescope tube.
20
Remove cap and insert the 20mm eyepiece into the diagonal
and tighten the set screw.
23
Place the eyepiece into the barlow and tighten the set screw
to secure in place.
12
Slide the chrome end of the slow motion control cable onto
equatorial mount gear shaft and tighten screw to secure in
place.
15
Place the tube on the mount by lining up the screws with the
mounting holes on the mount.
18
Orient the finderscope so that the glass window is facing
towards the front of the tube. Place finderscope over the
holes on the tube and replace the knurled nuts to secure.
21
Remove the lens cap from the front of the telescope. To
observe, look through the eyepiece as shown above.
For detailed usage
information please
consult your owner's
manual.
