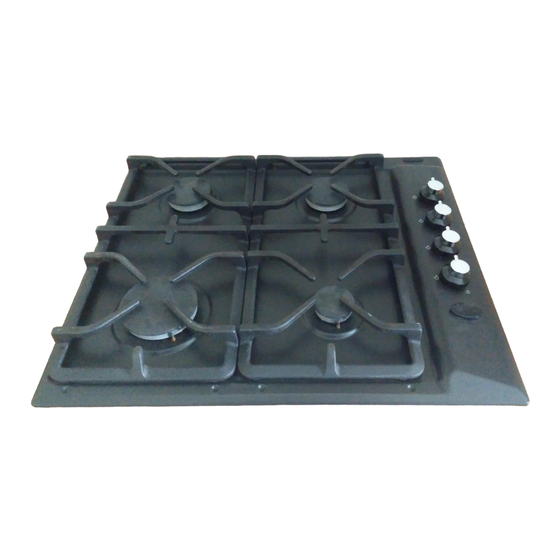
IKEA DATID HGA4K Руководство пользователя - Страница 9
Просмотреть онлайн или скачать pdf Руководство пользователя для Варочная панель IKEA DATID HGA4K. IKEA DATID HGA4K 16 страниц. Lagan
Также для IKEA DATID HGA4K: Инструкции (4 страниц), Руководство (24 страниц), Инструкция по сборке Руководство (20 страниц), Руководство (12 страниц)

ENGLISH
The graphic above represents rating plate of
the appliance (without serial number which is
generated dynamically during the production
process), which is located at its underneath
surface of the casing.
Installation
Manufacturer is not responsible for any injury
to persons and pets or damage to property
caused by failure to comply following require-
ments.
Caution! To proceed with the installation
refer to the assembly instructions.
Warning! Installation process must follow
the laws, ordinances, directives and
standards (electrical safety rules and
regulations, proper recycling in accordance
with the regulations, etc.) in force in the country
of use!
Ensure that the local distribution condi-
tions (nature of the gas and gas pressure)
and the adjustment of the appliance are com-
patible before proceeding with the installa-
tion.
The parameters of adjustment setting for
this appliance are stated on the rating
plate (refer to the Technical data chapter).
Warning! The appliance must be
earthed!
Warning! Risk of injury from electrical
current.
• The electrical mains terminal is live.
• Make electrical mains terminal free of volt-
age.
• Loose and inappropriate plug and socket
connections can make the terminal over-
heat.
Dear Customer, please apply here aside the
sticker you can find in the dedicate plastic bag
inserted inside the hob packaging. This will al-
low us to assist you better, by identifying pre-
cisely your hob, in case you will need in future
our assistance. Thank you for your help!
• Have the clamping connections correctly in-
stalled.
• Use strain relief clamp on cable.
Important! You must observe the minimum
distances to other appliances and furniture
cabinets or other units according to Assembly
Instruction.
If there is no oven beneath the hob insert a di-
viding panel at a minimum distance of 20 mm
from the bottom of the hob.
Protect the cut surfaces of the worktop against
moisture using a suitable sealant included in
the product in fitting bag. The sealant seals the
appliance to the work top with no gap. Do not
use silicon sealant between the appliance and
the worktop. Avoid installing the appliance
next to doors and under windows as hot cook-
ware may be knocked off the pan support
when doors and windows are opened.
Only an authorized service engineer can in-
stall, connect or repair this appliance. Any gas
installation must be carried out by a GAS SAFE
REGISTER installer. Use only original spare
parts.
Gas Connection
Warning! This appliance is not
connected to a combustion products
evacuation device.
Installation must comply with current local reg-
ulation.
9
