Lexmark 25A0452 - C 736dtn Color Laser Printer Руководство по подключению - Страница 2

Просмотреть онлайн или скачать pdf Руководство по подключению для Принтер Lexmark 25A0452 - C 736dtn Color Laser Printer. Lexmark 25A0452 - C 736dtn Color Laser Printer 5 страниц. Color laser printers
Также для Lexmark 25A0452 - C 736dtn Color Laser Printer: Руководство по установке модуля лотка (1 страниц), Руководство по установке модуля лотка (2 страниц), Краткая справка (2 страниц), Руководство по печати (3 страниц), Брошюра и технические характеристики (6 страниц), Руководство по печати (9 страниц), Руководство для СМИ (3 страниц), Карта меню (3 страниц), Руководство по снабжению (2 страниц), Установка (2 страниц), Информационный справочник (1 страниц), Краткое руководство (4 страниц)
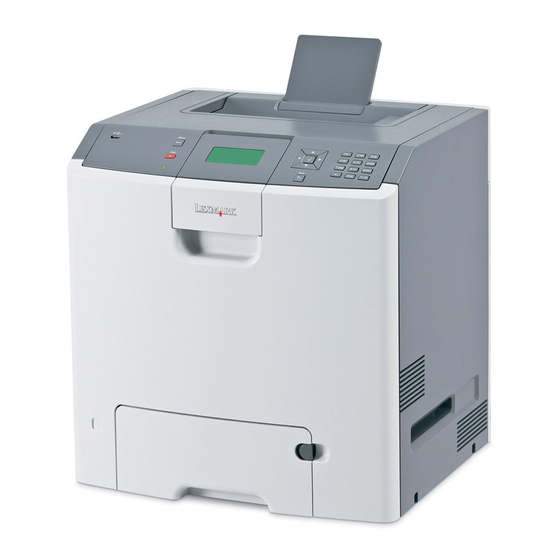
Lexmark 25A0452 - C 736dtn Color Laser Printer Руководство по подключению
Windows instructions for network attached printers
What is network printing?
In Windows environments, network printers can be configured for direct printing or shared printing. Both network printing
methods require the installation of printer software and the creation of a network port.
Printing method
IP printing
Printer is connected directly to the network using a network cable, such as an Ethernet
cable.
Printer software is typically installed on each network computer.
Shared printing
Printer is connected to one of the computers on the network using a local cable, such as
a USB or parallel cable.
Printer software is installed on the computer attached to the printer.
During software installation, the printer is set up to be "shared" so that other network
computers can print to it.
Installing software for direct IP printing
1
Insert the Software and Documentation CD.
If the install screen does not appear, click Start
or DVD drive.
2
Select Install Printer and Software.
3
Select Suggested, and then click Next.
Note: Select Custom instead of Suggested to choose the software that is installed.
4
Select Network Attach, and then click Next. The printer software is copied to your computer.
5
Select the printer model that you are installing.
The printer is automatically discovered on the network, an IP address is automatically assigned, and a network printer is
created in the Printers folder.
6
From the list of discovered printers, select the one that you want to print to.
7
Click Finish to complete the installation.
8
Click Done to exit the installer.
Installing software for shared printing
Setting up shared printing requires several steps and should be done in the following order:
1
Install the printer software on the computer attached to the printer.
a
Insert the Software and Documentation CD.
If the install screen does not appear, click Start
CD or DVD drive.
b
Select Install Printer and Software.
Run, and then type D:\setup.exe, where D is the letter of your CD
Run, and then type D:\setup.exe, where D is the letter of your
Connection Guide
Page 2 of 5
Example