Lexmark E460 Series Краткое руководство по эксплуатации

Просмотреть онлайн или скачать pdf Краткое руководство по эксплуатации для Принтер Lexmark E460 Series. Lexmark E460 Series 4 страницы. Lexmark printer user manual
Также для Lexmark E460 Series: Технические характеристики (4 страниц), Краткая справка (2 страниц), Техническая записка (3 страниц), Руководство по печати (10 страниц), Руководство по подключению (5 страниц), Руководство для СМИ (4 страниц), Настройка сети (4 страниц), Руководство по снабжению (2 страниц), Установочный лист (2 страниц), Информационный справочник (1 страниц), Руководство по техническому обслуживанию (10 страниц), (Португальский) Брошюра и технические характеристики (6 страниц)
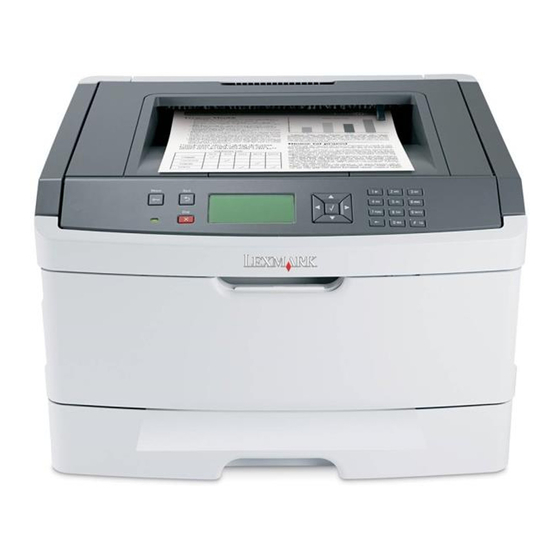
Lexmark E460 Series Краткое руководство по эксплуатации
How to Reset the Photoconductor Page
Count on a Lexmark E460 Printer
Lexmark E460
Solution
Overview
You must reset the photoconductor page count at any time you replace the photoconductor unit.
Otherwise, the printer will not register the photoconductor replacement, and it will think that the
old photoconductor unit is still installed. The printer will therefore continue to display an 84 - PC
Kit life or a Photoconductor (PC) Life Warning message. In addition, once the old,
unreset photoconductor page count reaches a certain point, the printer will stop printing and
display an 84 - Replace PC Kit or a Photoconductor Exhausted message.
NOTE:
For more information on these error messages and their meaning, see the section
labeled Error messages located near the end of this article.
To reset the photoconductor page count
IMPORTANT!
new photoconductor kit is installed. Resetting the page count without replacing the
photoconductor kit will cause the photoconductor to operate beyond its intended life
and create print quality issues or possibly damage the printer.
Step
After installing the new photoconductor unit, open the front cover. Leave the printer powered
on.
1
2
The photoconductor page count should be reset only when a completely
Action