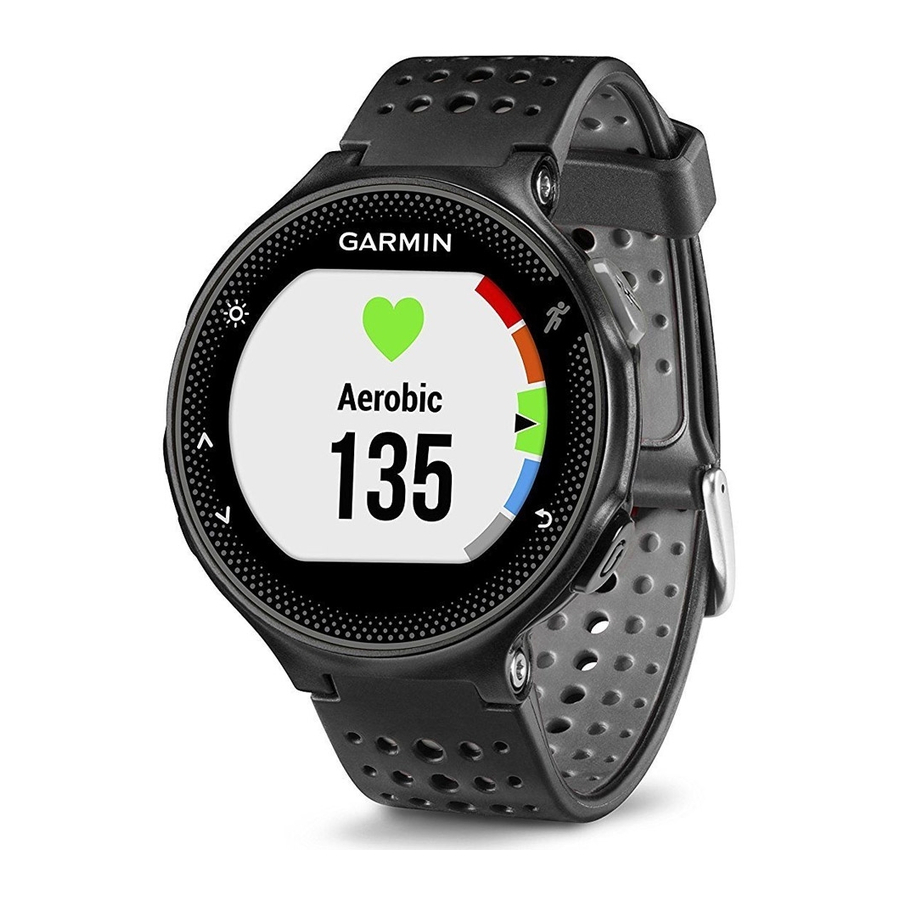
Garmin Forerunner 235 Руководство пользователя - Страница 12
Просмотреть онлайн или скачать pdf Руководство пользователя для Смотреть Garmin Forerunner 235. Garmin Forerunner 235 20 страниц.
Также для Garmin Forerunner 235: Краткое руководство по эксплуатации (13 страниц)
2
Select the Run Indoor activity profile.
3
Go for a run.
Foot Pod Calibration
The foot pod is self-calibrating. The accuracy of the speed and
distance data improves after a few outdoor runs using GPS.
Setting Up Your User Profile
You can update your gender, birth year, height, weight, and
heart rate zone settings. The device uses this information to
calculate accurate training data.
1
Select Menu > My Stats > User Profile.
2
Select an option.
Activity Profiles
Activity profiles are a collection of settings that optimize your
device based on how you are using it. For example, the settings
and data screens are different when you are using the device for
running than for riding your bike.
When you are using a profile and you change settings such as
data fields or alerts, the changes are saved automatically as part
of the profile.
Changing Your Activity Profile
The device has default activity profiles. You can modify each of
the saved activity profiles.
TIP: The default activity profiles use a specific accent color for
each sport.
1
Select Menu > Settings > Activity Profiles.
2
Select a profile.
You can show or hide the default activity profiles.
Activity Settings
These settings allow you to customize your device based on
your training needs. For example, you can customize data
screens and enable alerts and training features.
Customizing the Data Screens
You can customize data screens based on your training goals or
optional accessories. For example, you can customize one of
the data screens to display your lap pace or heart rate zone.
1
Select Menu > Activity Settings > Data Screens.
2
Select a screen.
Some screens can only be turned on or off.
3
If necessary, edit the number of data fields.
4
Select a data field to change it.
Alerts
You can use alerts to train toward specific heart rate, pace, time,
distance, cadence, and calories goals and to set run/walk time
intervals.
Setting Range Alerts
A range alert notifies you when the device is above or below a
specified range of values. For example, if you have an optional
heart rate monitor, you can set the device to alert you when your
heart rate is below zone 2 and over zone 5
Rate Zones, page
3).
1
Select Menu > Activity Settings > Alerts > Add New.
2
Select the type of alert.
Depending on your accessories and the activity profile, the
alerts may include heart rate, pace, speed, and cadence.
3
If necessary, turn on the alert.
4
Select a zone or enter a value for each alert.
8
Each time you exceed or drop below the specified range, a
message appears. The device also beeps or vibrates if audible
tones are turned on
Setting a Recurring Alert
A recurring alert notifies you each time the device records a
specified value or interval. For example, you can set the device
to alert you every 30 minutes.
1
2
3
Each time you reach the alert value, a message appears. The
device also beeps or vibrates if audible tones are turned on
(Setting the Device Sounds, page
Setting Walk Break Alerts
Some running programs use timed walking breaks at regular
intervals. For example, during a long training run, you can set
the device to alert you to run for 4 minutes, and then walk for 1
minute, and repeat. You can use the Auto Lap
using the run/walk alerts.
NOTE: Walk break alerts are available only for running profiles.
1
2
3
4
Each time you reach the alert value, a message appears. The
device also beeps or vibrates if audible tones are turned on
(Setting the Device Sounds, page
Editing an Alert
1
2
3
Using Auto Pause
You can use the Auto Pause feature to pause the timer
automatically when you stop moving or when your pace or
speed drops below a specified value. This feature is helpful if
your activity includes stop lights or other places where you need
to slow down or stop.
NOTE: History is not recorded while the timer is stopped or
paused.
1
2
Marking Laps by Distance
You can use the Auto Lap feature to mark a lap at a specific
distance automatically. This feature is helpful for comparing your
(Setting Your Heart
performance over different parts of a run (for example, every 1
mi. or 5 km).
1
2
Each time you complete a lap, a message appears that displays
the time for that lap. The device also beeps or vibrates if audible
tones are turned on
If necessary, you can customize the data screens to display
additional lap data.
(Setting the Device Sounds, page
Select Menu > Activity Settings > Alerts > Add New.
Select an option:
• Select Custom, select a message, and select an alert
type.
• Select Time, Distance, or Calories.
Enter a value.
Select Menu > Activity Settings > Alerts > Add New.
Select Run/Walk.
Enter a time for the run interval.
Enter a time for the walk interval.
Select Menu > Activity Settings > Alerts.
Select an alert.
Edit the alert values or settings.
®
Select Menu > Activity Settings > Auto Pause.
Select an option:
• Select When Stopped to pause the timer automatically
when you stop moving.
• Select Custom to pause the timer automatically when
your pace or speed drops below a specified value.
Select Menu > Activity Settings > Laps > Auto Distance.
Select a distance.
(Setting the Device Sounds, page
9).
9).
®
feature while
9).
9).
Customizing Your Device