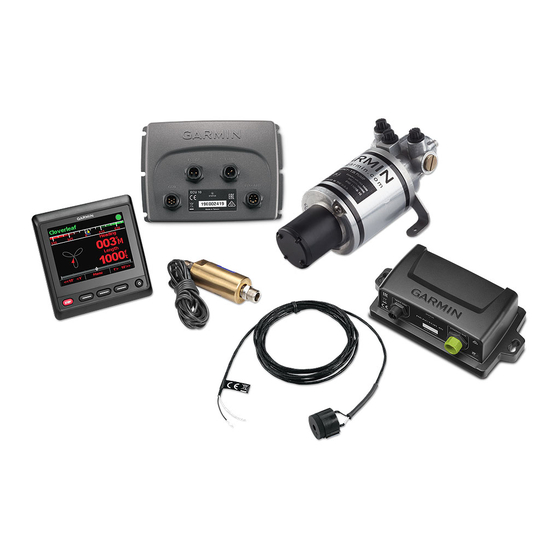
Garmin Reactor 40 Руководство по установке - Страница 11
Просмотреть онлайн или скачать pdf Руководство по установке для Морское оборудование Garmin Reactor 40. Garmin Reactor 40 25 страниц. Mechanical
Также для Garmin Reactor 40: Руководство по установке (11 страниц), Руководство по установке (13 страниц), Руководство по установке (29 страниц), Руководство по конфигурации (8 страниц)

Return line
Shadow Drive sensor
Starboard line
Port line
Shut-off valves
Pump
Upper helm
Lower helm
Steering cylinder
Installation Procedures
To avoid possible personal injury, always wear safety goggles, ear protection, and a dust mask when drilling,
cutting, or sanding.
When drilling or cutting, always check what is on the opposite side of the surface to avoid damaging the vessel.
After you have planned the autopilot installation on your boat and satisfied all of the mounting and wiring
considerations for your particular installation, you can begin mounting and connecting the components.
Helm Control Installation
A dedicated helm control is not included in all autopilot packages. If you install the autopilot without a dedicated
helm control, the autopilot CCU must be connected to the same NMEA 2000 network as a compatible Garmin
chartplotter to configure and control the autopilot system.
Detailed mounting instructions are included in the helm control box.
Mounting the CCU
1 Determine the mounting location.
2 Using the CCU as a template, mark the two pilot hole locations on the mounting surface.
1
3 Using a 3 mm (
/
in.) bit, drill the pilot holes.
8
4 Use the included screws to attach the CCU to the mounting surface.
NOTE: If you use mounting hardware other than the provided screws, the hardware must be quality stainless
or brass material to avoid magnetic interference with the CCU.
Test any mounting hardware with a handheld compass to make sure no magnetic fields are present in the
hardware.
CAUTION
NOTICE
11
