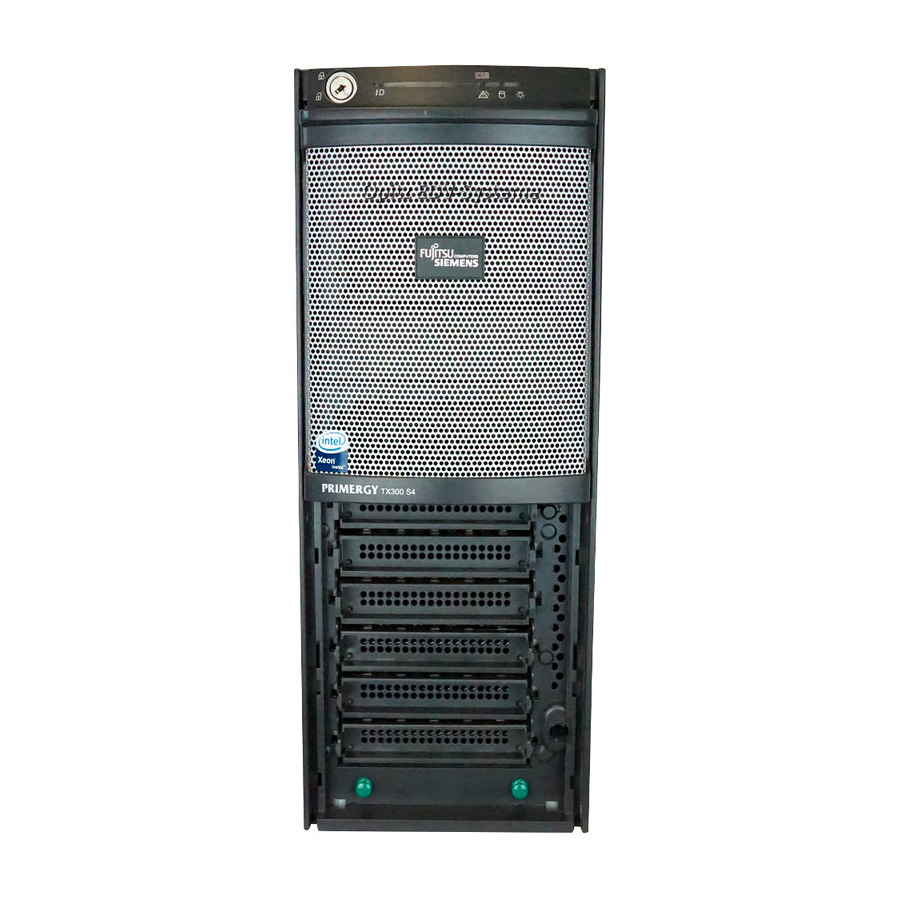
Fujitsu Primergy TX300 S4 Установка - Страница 2
Просмотреть онлайн или скачать pdf Установка для Сервер Fujitsu Primergy TX300 S4. Fujitsu Primergy TX300 S4 3 страницы. Pre-attached rack conversion kit
Также для Fujitsu Primergy TX300 S4: Руководство по конфигурированию системы и информации о заказах (17 страниц), Руководство по эксплуатации (8 страниц), Указания по использованию (4 страниц)

4
Fix the slide rails to the rack.
Fix the rear side first.
Secure them by inserting the pins of the slide rail to the
first and the third hole of the slide rail. For the front
side, secure the slide rail to the rack at the third hole
using a washer and M5 flathead screw.
���������������������������������
�����������
����
������������
�����������
The slide rails are designed as both dedicated left
and right side. Fix the slide rails with facing up the
indication of "LEFT" and "RIGHT ".
The rail may be damaged if server is installed on
the rack whose slide rails are fixed oppositely.
5
Pull the inner rails toward the front until
they click into place.
����������
������
�����������������
2
6
Draw out the inner rails, and attach the
inner rail to the server.
1.
Put the server on so that the ledge parts in the inner
rail may put it in the ditch on the server side.
2.
Slide the server towards the back until the screw
hole in the inner rails and the screw hole in the
server side overlap.
3.
Fix the inner rail and the server with the M3 flathead
screws (Fix each side with two screws).
������
����������
�������������������������������
���������������������������������
7
Install the server into the rack.
Hold the locks on the right and left of the slide rail
pressed and slide the server even further into the rack.
Be careful not to pinch your fingers or catch any
clothing when sliding the server into the cabinet.
Failing to do so may cause injuries.
8
Fix the server to the rack.
Fix them by using the four M5 thumbscrews.
��������������
�����
