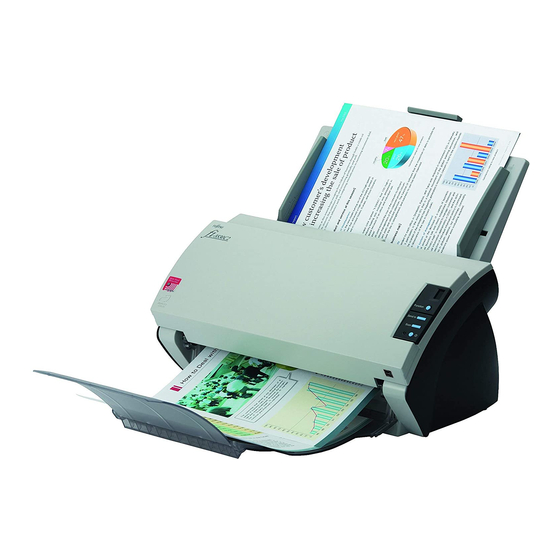
Fujitsu SCSI Scanner Installation Procedures
Installing the ISIS driver.
1. Create a new folder and name it Fujitsu Downloads.
2. Next go to the following link and click on
3. Fill in the pre-registration box when it pops up and continue to the drivers download
page.
4. Afterwards click on ISIS Software Drivers.
5. Scroll down the list of scanner models in the left column and select the appropriate
ISIS driver to the right of your scanner model.
6. Double click on the driver file name and the File Download box will popup.
7. Click on Save and then use the browse (or other folder navigation) button until you
have the ISIS Download folder you created in the Save As box.
8. Click Save.
9. When completed close the Download Complete window and go to the ISIS
Download folder.
10. Open the folder and you will see the saved ISIS driver file. Double click on the file to
unzip it and the WinZip* self-extractor box will popup. Note and accept the default
folder it is creating then click on Extract. The file will begin to unzip and when
finished a message box will report the number of files unzipped. Click on OK and
close WinZip.
11. In the new ISIS folder that you noted earlier locate the setup.exe file and double
click. Afterwards follow the prompts and reboot when finished.
Step E: Unlocking the shipping lock.
If your model scanner does not have a flatbed then proceed to Step F.
The flatbed model scanners typically include a lock on the flatbed designed to protect
the scanner during shipment. Before the scanner can be used the shipping lock must be
unlocked. To unlock it do the following:
1. Located the shipping lock slider tab or knob either underneath or at the end of the
scanner.
2. Slide or rotate the lock to the unlock position.
Step F: Connecting the Scanner.
Warning! Ensure that the power is off when connecting or disconnecting the SCSI cable to the
scanner or workstation. Failure to follow the procedure above could result in damage to the
SCSI card, scanner, and/or your system.
The default SCSI ID setting for the scanners is 5. However, selecting a different SCSI
ID may be required when there are several devices on a SCSI chain. To change the
SCSI ID rotate the yellow dial of the SCSI ID selector on the unit. Setting the SCSI ID to
0, 1, or 7 is NOT recommended as these settings are typically reserved for hard drives
and the SCSI host adapter. Next if the scanner is the last device (only device) on the
SCSI chain then it must be terminated. If the scanner is not the last device on the SCSI
chain, then the terminator should be removed or turned off before connecting it to the
next SCSI device. SCSI termination is handled automatically by these models.
Rev082708A
Windows 95\98\98SE\ME\2000\XP\Vista
Drivers and
Downloads.
Page 4 of 4

