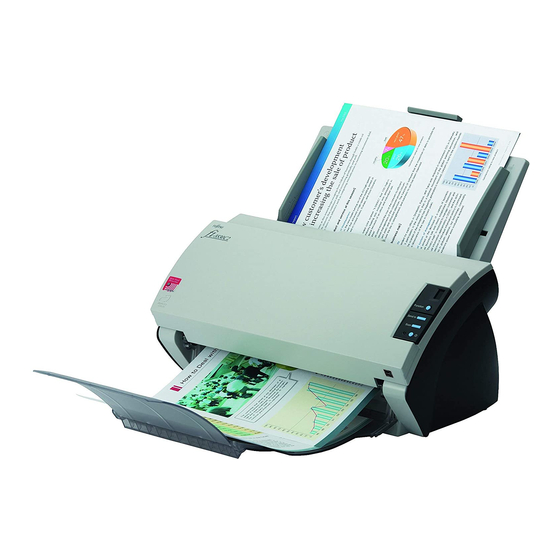
Fujitsu SCSI Scanner Installation Procedures
Typically the SCSI ports are located on the back of the scanner (the exceptions being
the Fi-5650C and Fi-6670\A which are on the front). Depending on the model the SCSI
port connector(s) may be one of the following:
A. 50-pin High Density (HD-50) or
B. 68-pin Wide SCSI.
Use the appropriate cable to connect the scanner to the SCSI controller in your PC and
ensure that all connections are securely fastened.
Special note: The Fi-6670A and Fi-6770A are equipped with a 68-pin Wide SCSI port
which is reserved for Hardware VRS usage only.
Finally connect the power cord to the scanner and a wall outlet then turn on the scanner.
For those models without a power switch plug in the power supply to the back of the
scanner. To establish communication between the Scanner and your PC system turn on
the scanner prior to turning on your system. The scanner power and LED/LCD display
will light up. Next after the scanner completes its startup initialization the LED/LCD will
display either ready or the number one. This indicates that the scanner is ready.
The New Hardware wizard will now pop up. Select search for the driver automatically
and follow the prompts. Since the driver is already installed on your system you do not
need to select search the internet. When completed you will see the scanner installed
under Imaging devices in Device Manager.
Step G: Scanning with ScandAll Pro.
To scan with Scandall Pro will require a little advance preparation because the Scan Menu has
three different scanner control zones (four if you include the "cancel" function).
1. Launch ScandAll Pro by clicking on the shortcut link on your desktop or manually by
clicking on Start, Programs, Fujitsu ScandAll Pro, Fujitsu ScandAll Pro.
2. After the Untitled Screen has open, click Scan on the Menu bar and go down to
zone three, then click Select Scanner.
3. Select the Fujitsu Twain source for your scanner by highlighting it and clicking
OK. You will only need to do this once unless you are scanning with multiple
sources.
4. Once you are back at the Untitled Screen click on Scan on the Menu bar and in zone
three click Select Settings to open the Twain User Interface..
5. Select the scanning parameters that you wish to use – Color mode, resolution,
paper size, etc...
6. Next under Scan Type choose either ADF or Flatbed in the dropdown box then
click OK.
7. Place your document in the ADF or on the Flatbed face down and click Scan on the
Menu bar and then in zone one the Scan Settings button. This is where you decide
what to do with the scanned image. E.G. Save to file, file type, file name, display
image after scan. For this test uncheck the Save to file box and click OK.
8. Now click Scan on the Menu bar and then back in zone one the Scan button.
9. After the documents are scanned the images will appear on the Untitled Screen.
Rev082708A
Windows 95\98\98SE\ME\2000\XP\Vista
Page 5 of 5