Fujitsu ScanSnap iX500 Руководство по началу работы - Страница 10

Просмотреть онлайн или скачать pdf Руководство по началу работы для Сканер Fujitsu ScanSnap iX500. Fujitsu ScanSnap iX500 16 страниц. Windows
Также для Fujitsu ScanSnap iX500: Руководство по началу работы (17 страниц), Руководство по быстрой настройке (3 страниц), Начало работы (18 страниц), Меры предосторожности (11 страниц), Руководство (2 страниц), Краткое руководство по эксплуатации (2 страниц), Руководство по подключению Wi-Fi (41 страниц)
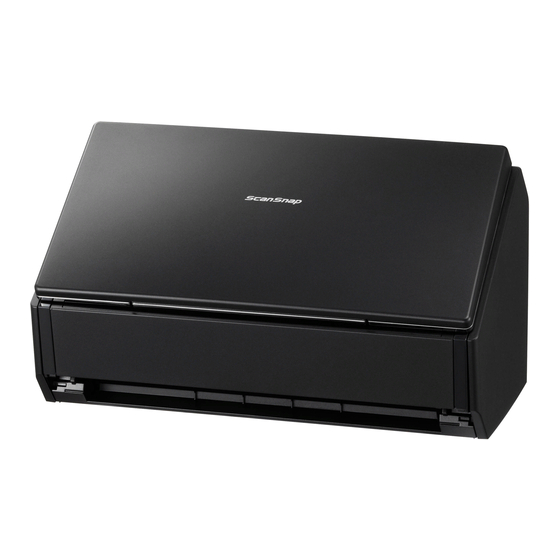
Fujitsu ScanSnap iX500 Руководство по началу работы
5.
Open the ADF paper chute (cover) of the ScanSnap.
The ScanSnap is powered on and the [Scan] button lights
in blue.
ATTENTION
The bottom of the ScanSnap may become hot when the
ScanSnap is used, but this heat does not affect operation
or cause any physical harm. However, be careful not to
drop the ScanSnap when carrying it.
When the ScanSnap is turned on and left unused for 4
hours, it will turn itself off automatically. To turn the
ScanSnap back on, perform one of the following
operations:
- Press the [Scan] button (Scanning does not start).
- Close the ADF paper chute (cover) and open it again
The time until power-off can be changed. For details, refer
to the Operator's Guide.
HINT
When you close the ADF paper chute (cover), the
ScanSnap will turn off.
6.
Check the ScanSnap Manager icon.
The ScanSnap Manager icon
appears when you click
right of the taskbar.
To have the ScanSnap Manager icon
notification area, drag the icon and drop it onto the notification
area.
ATTENTION
If the ScanSnap Manager icon is
menu. You can reference the appropriate actions for connecting the scanner.
The ScanSnap Manager icon
ATTENTION
If the ScanSnap Manager icon is
[To establish connection] from the menu. You can reference the appropriate actions for connecting
the scanner.
is displayed in the menu that
on the notification area, at the far
always displayed on the
, right-click on
appears in the Dock.
, while holding down the [control] key, click
10
ADF Paper Chute (cover)
[Scan] Button
and select [To establish connection] from the
and then select