DeZurik G-SERIES Руководство - Страница 10

Просмотреть онлайн или скачать pdf Руководство для Контроллер DeZurik G-SERIES. DeZurik G-SERIES 17 страниц. Lift, turn and reseat used on ptw & pfw tapered plug valves
Также для DeZurik G-SERIES: Инструкция (7 страниц), Руководство (8 страниц), Руководство (17 страниц), Руководство (14 страниц), Руководство (12 страниц), Руководство (14 страниц), Руководство (16 страниц), Инструкция (19 страниц), Руководство по эксплуатации (13 страниц), Руководство (9 страниц)
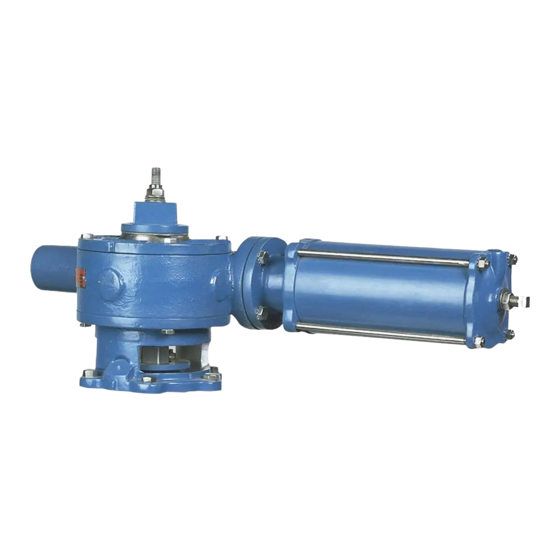
DeZurik G-SERIES Руководство
DeZURIK
Replacing Actuator on Valve
Refer to Figure 2 and Figure 6 for parts identification.
1. Place the valve in the position it was in when the actuator was removed. Normally this will be so
the plug is in the lowest position in the valve body.
2. For Buried Service (GB_A) actuators only - Before reassembly, remove old sealant from all
mating mounting surfaces. Apply a thin bead of silicone sealant DOW RTV-732 (1055515) or
similar to the adaptor (P1) and the actuator housing (B1A) mounting surfaces.
3. Above Ground Service (GS_A) actuator only - Remove the screws (B1R) and pointer (B1Q).
Buried Service (GB_A) actuator only - Remove the screws (B13) and cover (B12).
4. Mount the actuator to the adaptor with the four mounting screws (P3). Tighten screws.
5. Insert the drive key into the valve plug/gear (B1C) keyway.
6. Above Ground Service (GS_A) actuator only - Fasten the pointer (B1Q) to the gear (B1C)
with the two screws (B1R).
Buried Service (GB_A) actuator only - Remove old sealant from cover (B12) and cover (B1B)
mating mounting surfaces. Apply a bead of silicone sealant DOW RTV-732 (1055515) or similar
to the cover (B12) and cover (B1B) mating surfaces. Fasten the cover (B12) to cover (B1B) with
crews (B13).
7. Check the closed position stop setting and readjust if necessary as described in the "STOP
ADJUSTMENT" Section of this Instruction.
8. Pipeline flow may now be restored.

Changing Actuator Mounting Position

The actuator can be mounted in 90
To move the actuator mounting position in 90
1. Remove the actuator from the valve as described in the REMOVING ACTUATOR FROM
VALVE Section of this Instruction.
2. Rotate the actuator to the desired position.
3. Install the actuator on the valve as described in the REPLACING ACTUATOR ON VALVE
Section of this Instruction.
D10456
increments around the valve shaft.
o
increments from its present position, follow these steps.
o
Page 10
August 2012