DeZurik G-SERIES Руководство - Страница 11

Просмотреть онлайн или скачать pdf Руководство для Контроллер DeZurik G-SERIES. DeZurik G-SERIES 17 страниц. Lift, turn and reseat used on ptw & pfw tapered plug valves
Также для DeZurik G-SERIES: Инструкция (7 страниц), Руководство (8 страниц), Руководство (17 страниц), Руководство (14 страниц), Руководство (12 страниц), Руководство (14 страниц), Руководство (16 страниц), Инструкция (19 страниц), Руководство по эксплуатации (13 страниц), Руководство (9 страниц)
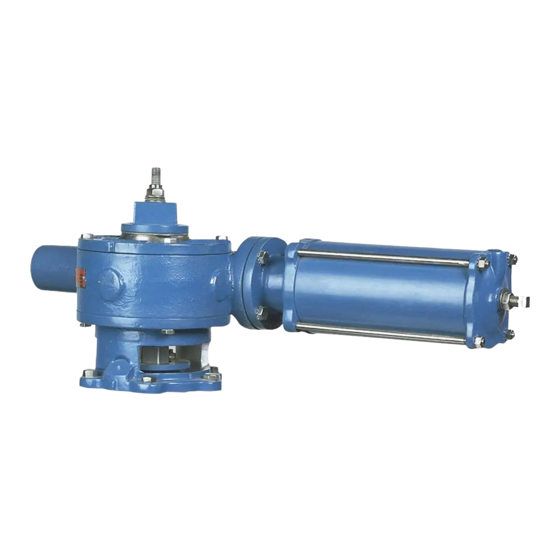
DeZurik G-SERIES Руководство

Actuator Disassembly and Assembly

Under normal operating conditions the G-Series actuator does not require routine maintenance. If the
actuator has excessive wear or has been damaged, it is recommended that the actuator be replaced,
not repaired.
Use the following procedure for replacing leaking seals and o-rings. Refer to Figure 2 for component
identification.

Actuator Disassembly

Flow in the pipeline with the actuator removed can slam the valve closed causing
personal injury and damaging the flow system. Shut down the flow in the pipeline
before removing the actuator from the valve.
1. Discontinue flow and relieve pipeline pressure.
When Eccentric Plug valves are mounted in a vertical pipeline, or mounted in a
horizontal pipeline with the plug stem horizontal, there is a chance that gravity will
cause the plug to swing to a lower position in the valve body when the actuator is
removed.
To avoid this hazard, rotate the plug to the lowest position before removing the
actuator.
2. Close the valve or rotate the plug to the lowest position in the valve body.
3.
Remove the actuator from the valve as described in the REMOVING ACTUATOR FROM
VALVE Section of this Instruction.
4. Above Ground Service (GS_A) actuator only - Note the position of the pointer (B1Q), then
remove the screws (B1R) and pointer.
Buried Service (GB_A) actuator only - Remove screws (B13) and cover (B12).
5. Remove the screws (B1M) and cover (B1B).
6. Remove the o-ring (B1N) thru the top of the cover (B1B).
7. Note the position of the gear (B1C) in the housing (B1A), then slide the gear (B1C) out of the
housing.
8.
Remove the two pipe plugs (B1I) from the housing (B1A).
9. Rotate the drive shaft (B1F) until the pins (B1K) line up with the pipe plug holes in the housing
(B1A).
August 2012
Page 11
DeZURIK
D10456