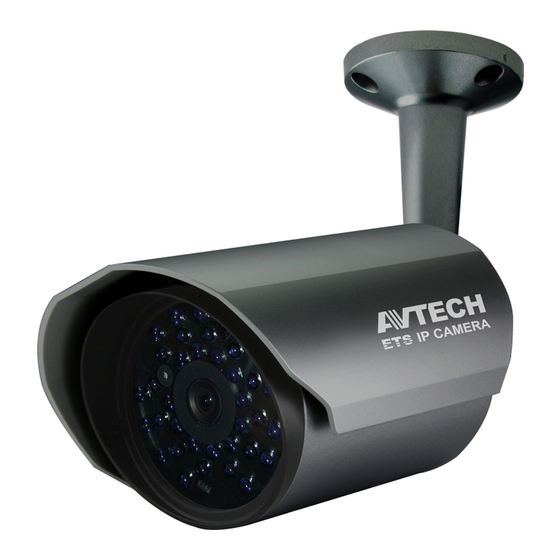
Avtech AVM457A Руководство по установке - Страница 2
Просмотреть онлайн или скачать pdf Руководство по установке для IP-камера Avtech AVM457A. Avtech AVM457A 4 страницы.

TYPE3
Standard package
Installation
or
Camera
Instructions
Optional
Desiccants
Waterproof
CD manual
accessory kit
Step1: Remove the sun shield from the camera.
Step2: Locate where you want to install this camera, and fasten the camera to the ceiling or wall (Figure 1).
Note: A file for its installation sticker could be downloaded from www.surveillance-download.com/user/c_installation_sticker.pdf.
Note: It's recommended to slightly loosen the screw on the bracket as indicated below to move the camera down a little bit. It's easier for bracket installation.
Step3: Adjust the viewing angle of the camera, as indicated in Figure 2.
Slightly
loosen
Guide
Screws &
wall plugs
Step4: (Optional) To install a microSD card if supported, open the camera front cover, and refer to the section of "INSERT A MICRO SD
CARD" for details.
Step5: (Optional) To adjust the focus and focal length if supported, open the front cover of the camera, and refer to the section of "ADJUST
FOCAL LENGTH & FOCUS" for details.
Step6: Fasten the sun shield to the camera.
Note: In order to make the best performance, please adjust the angle of IR shift up and down within 30 degree respectively, left and right within 15 degree
respectively.
Note: If the temperature of the installation environment is under 0˚C, 50 minutes or more will be needed for the camera to warm up.
Horizontal
Slightly
loosen
Figure 1
Vertical
Rotate
Slightly
Slightly
loosen
loosen
Figure 2
357_359_552_553_561_quick_V0.9
