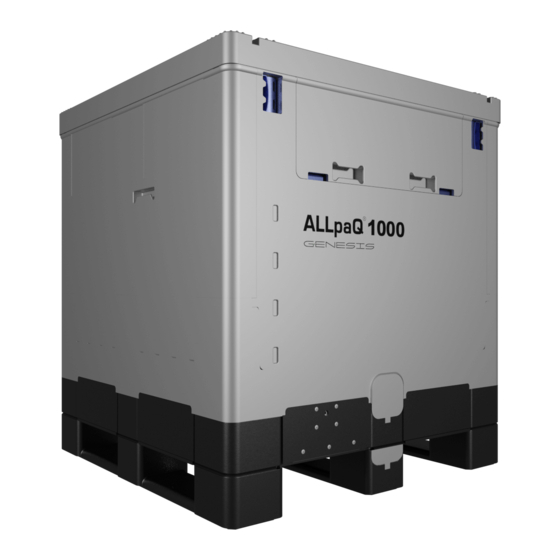
ALLpaQ Packaging Group Genesis 250 C Руководство пользователя оператора - Страница 12
Просмотреть онлайн или скачать pdf Руководство пользователя оператора для Упаковочное оборудование ALLpaQ Packaging Group Genesis 250 C. ALLpaQ Packaging Group Genesis 250 C 13 страниц.

Once the tubing has been fed through, the white disc will locate in the bottom drain hole of the
base unit (Fig 4.2).
Bag filling can commence in according to manufacturers recommendations. ALLpaQ recommend
foam dunnage for all shipping containers (see 2:4 Fig 4.5)
3.5 Fitting the lid
Hold the lid against the panel (Fig 5.1). Simply lower the lid until it is located across all four
corners of the container (Fig 5.3). Always lock the lid to a fully erected container.
Fig 5.1
3.6 Moving the container to storage area
Please refer to instruction 3.1
3.7 Emptying the container
Move container into position in line with previous instructions (see 3.1).
3.8 Removing the lid
When removing the lid please refer to instruction 3.2
3.9 Connect bag outlet
ALLpaQ 250. Open the front base access door by sliding door to the centre of the unit. (Fig 9.1)
Fig 5.2
Fig 5.3
ALLpaQ 200E by opening the hinged door. (Fig 9.1 inset)
Bag outlet tubing can be pulled and connected according to
bag suppliers recommendations. (Fig 9.2 and 9.2 inset)
Fig 9.1
Manual V1 - (Sept 14
Ensure the yellow catches are in the
open position before attempting to fit the
lid to the container. (Fig 5.2)
Once the lid is on the container return the
yellow catches to the locked position. (Fig
5.3)
th
2012)
