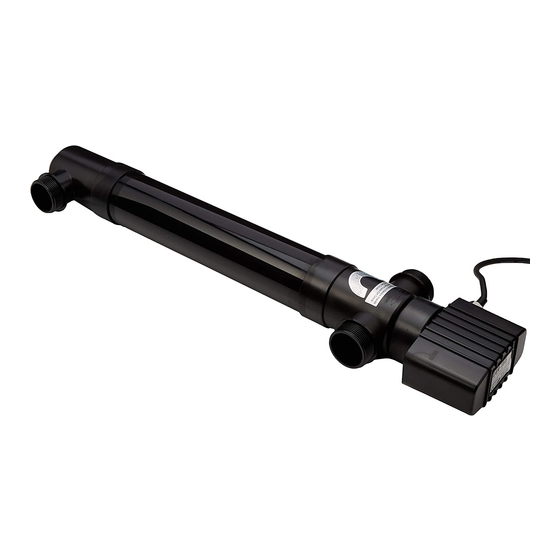
AllPondSolutions CUV-172 Руководство - Страница 9
Просмотреть онлайн или скачать pdf Руководство для Стерилизатор AllPondSolutions CUV-172. AllPondSolutions CUV-172 17 страниц. Pond & aquarium uv steriliser

Replacing the UV Bulb
NEVER look directly at the UV light.
When replacing your UV bulb, use this time to clean your quartz sleeve and
carefully examine for any damage or cracks. Take care when handling the
quartz sleeve and UV bulb to avoid any damage to the glass.
1. Unfasten the clip located on the side of the UV
clarifier.
IMPORTANT!
Remove the plastic clip located at the
bottom of the UV bulb before trying to remove the
bulb itself.
2. Once cooled, UV bulb can be safely removed by
gently moving it from side to side and pulling free
of unit.
3. You can now replace your UV bulb and
reassemble the unit. Ensure O-rings are replaced
when reassembling to avoid water ingress.
IMPORTANT!
Check regularly that your UV light is
operational by looking at the UV light indicator.
Always change your UV bulb every twelve months regardless of it working or
not, as its performance will lessen by this stage. We recommend to replace
your bulb every 6 months if used for aquarium and 12 months if used for pond.
The
CUV-118
uses a 18w PLL UV bulb.
The
CUV-136
uses a 36w PLL UV bulb.
The
CUV-155
uses a 55w PLL UV bulb.
The
CUV-172
uses 2 x 36w PLL UV bulb.
