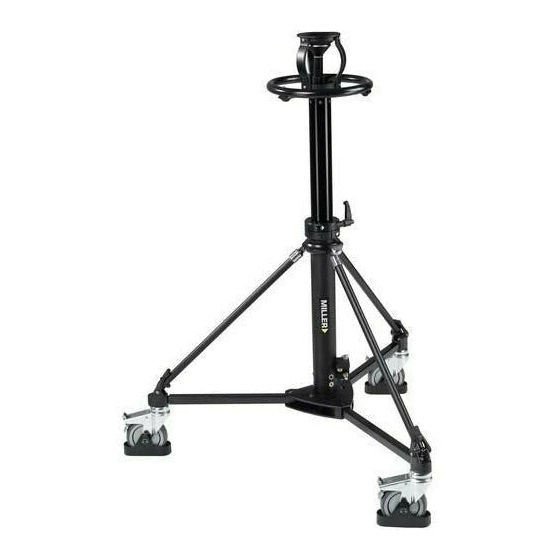
Miller 480 Руководство по эксплуатации - Страница 6
Просмотреть онлайн или скачать pdf Руководство по эксплуатации для Аксессуары для фотоаппаратов Miller 480. Miller 480 8 страниц. Combination pedestal

SET-UP (CONT)
LOW SET-UP ON DOLLY (Fig 11.)
• Remove the three locking screws that hold the Bowl Unit on the inside column
using the supplied hexagon key.
• Take off the Bowl Unit and lay it aside.
• Remove the three locking screws that hold the column in the base piece using
the supplied hexagon key.
• Take off the Column with spider and lay it aside.
• Mount, if necessary the extension you need using the same hexagon key. Fix
them firmly but do not use too much force for there is a chance of damaging
the tool or the screws.
• Take the Bowl unit and mount it on top of the extension or directly to the Base
Piece of the Dolly.
• A special low set up is possible using only the Bowl unit, placing it on its rub-
ber feet on the ground or a table (Fig 12.).
MOUNTING THE VIDEO CAMERA
• Before mounting camera, be sure that Column Clamp Handle is tight and the
wheels are locked.
• Place the Pedestal on a stable and flat floor.
• Mount your Fluid Head on the 100mm bowl. When using a 75mm Head a #378
100/75 bowl adaptor is available from your Miller dealer.
• Mount the camera to the Fluid Head using the quick release camera plate.
Apply all appropriate accessories to the camera up to the maximum of 30kg
total load (camera, head & accessories together). Refer to the Operator's
Manual of the Fluid Head.
• If necessary use the Pump to increase pressure to the air system or use the
Set Knob to decrease the pressure. Use the complete vertical stroke of the
Pedestal Column to test what is the ideal situation.
• If too much air pressure is applied the safety valve will open and air will
escape from the system to prevent it from being overloaded.
Fig 11.
Fig 12.
