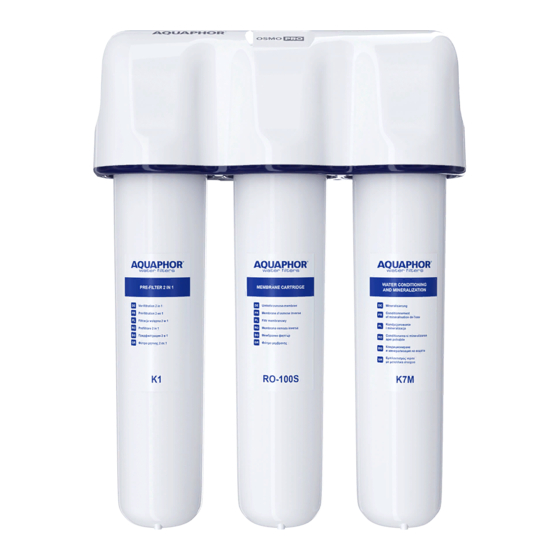
AQUAPHOR RO-312S PRO Руководство по эксплуатации - Страница 7
Просмотреть онлайн или скачать pdf Руководство по эксплуатации для Системы фильтрации воды AQUAPHOR RO-312S PRO. AQUAPHOR RO-312S PRO 17 страниц. Reverse osmosis system

diagram
12. Flare nut
13. Metal sleeve
14. Collet
15. Locking clips
16. Connecting tube (red)
17. Cutter
18. Storage capacity
6
Cold water supply
Clean water nozzle installation
with stand and stopper
7. Drill a hole with a diameter of 12 mm in the sink
(countertop).
8. Install the rubber gasket (9) from below into
the stand (8). Insert the threaded shank of the
stand into the hole on the countertop.
9. From the bottom of the tabletop, put plastic
(10) and metal lock washers (11) on the threaded
shank and tighten the nut (12).
18
17
15
Position
«tap closed»
5
10. Insert the free end of the tube extending from
the clean water tip into the stand hole (8).
Establish a stop: from the bottom of the tab-
letop put on the free end of the tube a sleeve
(13) and then a collet (14). The recommended
distance from the end of the threaded shank
to the sleeve is about 600 mm.
Installing a drain clamp
It is recommended to install the clamp on the
drain of the sink (sink) before the siphon (the
drain clamp fits most drain pipes with a diameter
of about 40 mm).
11. Remove the protective film from the gasket.
Glue the gasket on the inside of the clamp so
that the hole in the gasket matches the hole
in the clamp fitting.
12. Install the clamp to the pipe and then tighten
the bolts. Bolts should be tightened evenly so
that the two parts of the clamp are parallel.
13. Drill a hole with a diameter of 7 mm through
the clamp fitting. Put a plastic nut on the free
end of the drainage tube (black) and, inserting
the tube into the drainage clamp by 20-30 mm,
screw the nut onto the fitting.
14. Assemble the water purifier by installing the
cartridges in the collector (see the «Installing
Cartridges» section). The procedure for install-
ing cartridges is shown in the "Water purifier
installation diagram".
NOTE There is no need to install a membrane
cartridge at this point. To flush the filter, screw
the flushing plug into the middle socket of the
manifold.
7
