AQUAPHOR RO-312S PRO Руководство по эксплуатации - Страница 6
Просмотреть онлайн или скачать pdf Руководство по эксплуатации для Системы фильтрации воды AQUAPHOR RO-312S PRO. AQUAPHOR RO-312S PRO 17 страниц. Reverse osmosis system

Installation
guide
ATTENTION! To connect the RO-312S Pro, it is
recommended to contact the service department
of Aquaphor or regional dealers of Aquaphor.
Installing the RO-312S Pro
1. For installation you will need: drill, drill 7 mm
and 12 mm, adjustable wrench, screwdriver,
pipe wrench 14 mm.
2. Determine the convenient location of the tip
for clean water and the working unit, the in-
stallation site of the water supply node and
drainage clamp.
Make sure that the connecting tubes pass freely,
without kinks. The free sections of the tubes
should be fixed so that they cannot be damaged
or pulled out of the joints by foreign objects. The
RO-312S Pro must be isolated or isolated from
heat sources (dishwashers, washing machines,
stoves, boilers, hot water pipes, etc.).
Install the storage tank where the transfusion
of water beyond its edges cannot lead to unde-
sirable consequences.
Install a connection node
ATTENTION! The end of the pipeline to which
the connection unit is connected must be flat.
When installing the connection unit, do not use
excessive force so as not to damage it. If there
is mechanical damage to the connection unit as
a result of improper installation and / or improper
use, claims will not be accepted.
3. Shut off the cold water line and relieve pres-
sure by opening the mixer.
4. Install a connection unit (5) between the cold
water supply system and the flexible con-
nection of the mixer. If necessary, use the
FUM tape to seal the external thread of the
connection unit.
5. Connect the inlet pipe (red). See the "Con-
necting Tubes" section.
6
Water purifier installation
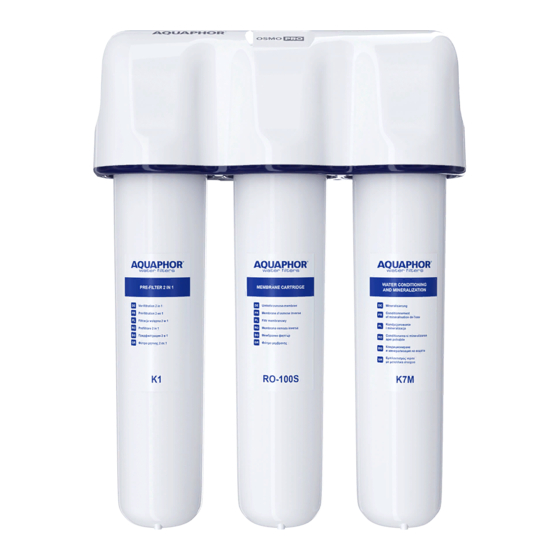
1. Collector block with drain pipe
2. Water treatment unit
3. Membrane block
4. Mineralizer
5. Connection node
6. Drain clamp
7. Tip for clear water with a tube
8. Decorative stand
9. Rubber gasket
10. Plastic washer
11. Metal lock washer
OSMO PRO
2
3
Collector Block Installation
6. To install the collector block (1), use the hard-
ware provided. Drill two holes for self-tapping
screws at a distance of 110 mm from each other
at the installation site of the RO-312S Pro. Fix
the collector block so that with installed car-
tridges at least 50 mm of free space is left
under the water purifier. This is necessary for
the convenience of replacing filter cartridges
and installing a drainage tube. Pay attention to
the supply tubes passing freely, without kinks.
7
8
1
9
10
11
12
13
14
4
16
