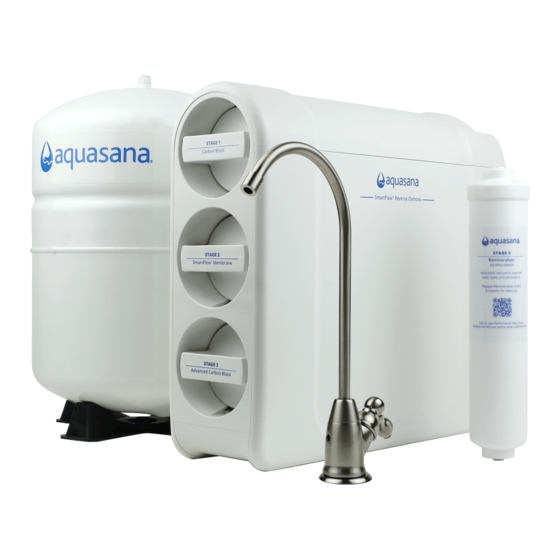
Aquasana AQ-SFRO Руководство пользователя - Страница 3
Просмотреть онлайн или скачать pdf Руководство пользователя для Системы фильтрации воды Aquasana AQ-SFRO. Aquasana AQ-SFRO 13 страниц. Under sink water filter smartflow reverse osmosis

2
INSTALLATION STEPS
2
1 Setup
For systems that include a dedicated faucet:
NOTE: This system requires an existing faucet hole 1" to 1-1/2" in diameter in the
sink or countertop to install the supplied dedicated faucet. You may also replace
an existing kitchen sink sprayer, soap dispenser, or pre-existing hole on the sink or
countertop.
If using a hole from a current dedicated faucet, ensure the hole is 1" to 1-1/2"
in diameter.
If drilling a new hole, ensure faucet body will mount flat against surface and there is
sufficient tubing between faucet body and system manifold. If drilling, we strongly
recommend using a professional. Please wear safety glasses when drilling.
For systems without a dedicated faucet:
NOTE: An airgap is required by code for RO systems. If you don't purchase an airgap
faucet, you must install an airgap under the sink.
This system requires an existing faucet hole, please refer to the installation guide of
the faucet purchased to determine hole size needed to drill.
This system requires tubing to be ¼" outside diameter. If you have 3/8" outer
diameter tubing, you will need to purchase quick connect adapters.
A. Unpack and unwrap box contents.
B. Turn off COLD water supply. Turn on the kitchen faucet to release
pressure and allow water to drain from the line.
C. Temporarily place system manifold and water tank into the under
sink cabinet or desired location to ensure adequate space and proper
positioning.
D. Measure blue and red tubing from faucet hole to system manifold, then
measure yellow tubing from the top of the water tank to the system
manifold. Ensure all tubing lengths are sufficient for making connections.
Do not cut tubing before following next instructions.
E. Remove system manifold and water tank from under your sink to begin
installation.
15.7"
(39.87 cm)
13.74
(34.9 cm
9.06"
(23 cm)
DRAWING NOT TO SCALE, SYSTEM AND TANK ENLARGED.
2
Install Air Gap Faucet
NOTE: If you have purchased a separate air gap faucet, please skip step 2 and follow
the manufacturer's installation manual. Once the faucet is installed, proceed to step 3.
NOTE: The max countertop width for the faucet is 0.5". If you have a countertop
width greater than that (0.5"-2"), you will need to remove the white plastic piece
from the faucet prior to installing. If you remove the piece, ensure you reassemble
the parts you removed before continuing.
A. Feed pre-connected air gap faucet through
countertop hole.
B. Underneath countertop, slide the slotted
faucet washer onto threaded base of faucet.
Washer should be in between countertop
and white plastic spacer. If needed, loosen
nut to move spacer down to create
enough room for the washer.
C. Tighten nut with adjustable wrench.
Do not over tighten.
WARNING: Ensure all electrical appliances and outlets are turned off at
circuit breaker before continuing. Please wear safety glasses when drilling.
INSTALLATION STEPS
3
STAGE 4
__________________________________
Remineralizer
AQ-SFRO-REMIN
Adds back calcium to improve
water taste and pH balance.
12.93"
Replace Remineralizer every
10.25"
6 months for best use.
(33 cm)
(26 cm)
Scan to view Performance Data Sheet,
"
)
2.125"
4.5"
(5.4 cm)
(11.5 cm)
