Aquasana AQ-SFRO-BN Руководство пользователя - Страница 6
Просмотреть онлайн или скачать pdf Руководство пользователя для Системы фильтрации воды Aquasana AQ-SFRO-BN. Aquasana AQ-SFRO-BN 13 страниц. Under sink water filter smartflow reverse osmosis

8
INSTALLATION STEPS
2
8
Connect Tubing
NOTES: Insert tubing completely to ensure connection. A fully connected tube can be
inserted up to 5/8 an inch.
Wet end of tubing for easier insertion.
Connect tubing to system in a way that does not bend, crimp, or kink tubing as this will
affect system performance. If tubing is too long, measure and cut to necessary length.
If cutting the tubing due to excess length, cut the tubing straight across, not at an angle.
Faucet Connect
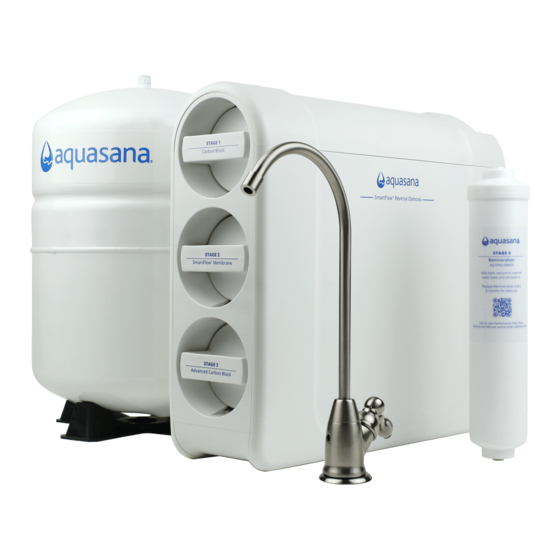
A. Connect the pre-installed 1/4" red tubing (smaller tubing) on the faucet to
the system manifold. Push red tubing into the red inlet port
on the back of the system manifold, labeled, 'waste'.
B. Connect open end of the pre-installed 1/4" blue tubing coming from the
faucet into the bottom end of remineralizer port.
C. Locate the blue tubing piece included in the installation kit and connect
to the top port of the remineralizer. Connect open end of blue tubing
coming from the remineralizer into the blue inlet port on the back of the
system manifold labeled, 'pure'.
D. Connect the pre-installed 3/8" red tubing (larger tubing) on the faucet to
the open port of the drain saddle. Do not allow the tubing to dip below
the drain saddle.
Inlet Tee Valve Connect
A. Locate the white tubing connected to the inlet tee valve. Using a utility knife
or scissors, cut the white tubing to the length needed to reach the back of
the system manifold.
B. Push white tubing into white inlet port on the
back of the system manifold, labeled, 'inlet'.
HOT
INSTALLATION STEPS
COLD
9
