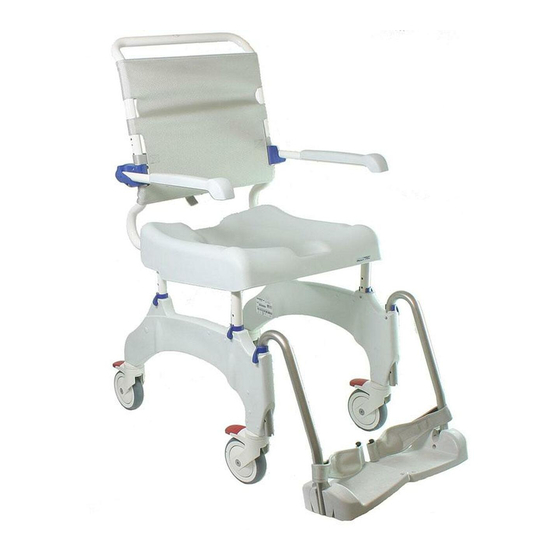
Aquatec OCEAN XL Руководство по эксплуатации - Страница 7
Просмотреть онлайн или скачать pdf Руководство по эксплуатации для Инвалидное кресло Aquatec OCEAN XL. Aquatec OCEAN XL 10 страниц. Commode

6.4
Use
When using the commode, observe the following safe-
ty rules:
CAUTION!
P
Seat surface may slip if loose
Check whether the seat surface is firmly
secured to the seat frame before use.
P
Slipping caused by the chair rolling
Lock all four casters with using the red
foot pedals before getting into or out of
the chair.
Apply the locking brake if the grip wheels
are used (optional).
Rolling away
Lock the casters in the parked position us-
ing the red foot pedal or the grip wheels
(optional) with the locking brake.
Tipping over
P
Push the footrests to the sides or fold up
the foot plates before getting into or out
of the chair.
P
Do not stand on the footrests.
Risk of breakage
Only lift the commode by the sides when
someone is sitting in it.
Catching in turning wheels
When using the optional grip wheels, do not
grip between the spokes or between the
seat frame and the turning wheels.
6.5
Folding the arm rests
CAUTION!
Catching in the folding mechanism
P
When folding down the armrests, do not
reach into the joint, and make sure that
no parts become jammed.
P
When folding up the armrests, do not
reach between the armrest and the
backrest.
EN
6.6
Folding the footrests
Position for getting in and out:
1.
Push the footrest slightly upwards along the guide
until the groove (1, fig. 5) no longer catches the
pin of the clip (6, fig. 5).
2.
Fold the footrest to the side.
Driving position:
CAUTION!
Loose footrests can be dangerous
Fix the footrests in the driving position.
1.
Turn the footrests inwards.
2.
Push down the footrest until the groove (1, fig. 5)
catches the pin of the clip (6, fig. 5).
6.7
Detaching and attaching the seat plate
Detaching:
Pull up the seat plate on both sides.
Attaching:
CAUTION!
Risk of catching
Do not reach between the seat surface and
the seat frame when pressing down the
seat plate.
1.
Place the seat plate on the seat frame with the
hole at the front (fig. 1).
2.
Push the seat plate as far back as it will go.
3.
Using the palm of your hand, push the sides of the
seat plate down, and then the front and the back,
until the seat plate snaps into the seat frame.
6.8
Removing and attaching the heel loop
1.
Open the velcro fastening of the heel loop.
Important!
When the bolt is unscrewed, the nut below
may fall out.
2.
Unscrew the bolt (3, fig. 5).
3.
Take off the screw with the spacer, and the nut un-
derneath the foot plate.
4.
Pull the heel loop off the spacer.
The heel loop can be fitted in the reverse order.
Important!
The velcro fastening of the heel loop should be
inside when fitted.
13
