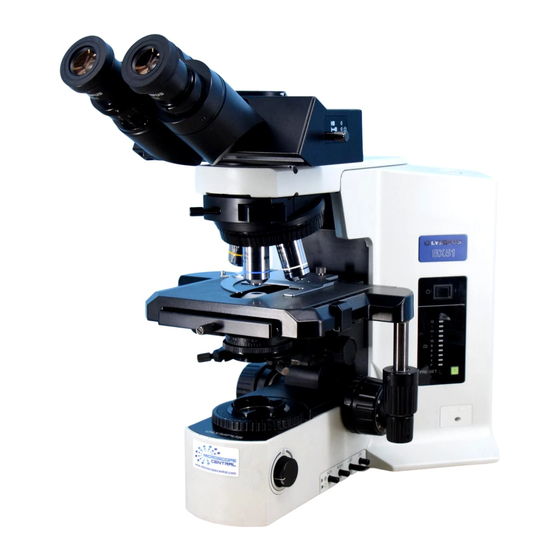
Olympus BX51 Руководство по эксплуатации - Страница 3
Просмотреть онлайн или скачать pdf Руководство по эксплуатации для Микроскоп Olympus BX51. Olympus BX51 11 страниц. System
Также для Olympus BX51: Руководство по эксплуатации (17 страниц), Руководство по эксплуатации (40 страниц), Руководство по эксплуатации (34 страниц), Руководство по эксплуатации (37 страниц)

1. Log in to CORAL.
2. Turn on the halogen lamp (1).
3. Select transmitted (bottom) light (4) for transparent samples or reflected (top) light.
4. Turn on the camera for pictures or measurements (switch atop the blue camera).
5. ONLY IF using fluorescence, turn on the mercury lamp (18).
6. Set the light path for the halogen or mercury lamp (30).
7. Choose the filter wheel setting (17) (NOT BF for UV light or you will damage your eyes).
8. Choose the objective (6).
9. Load sample on the stage.
10. Focus (10) and adjust illumination (3).
If transmitting fluorescence
Slide the filter wheel to position 2. The position 4 (BF) filter will expose your eyes to UV light.
Use the 25% ND filter (31) to reduce the UV intensity.
Close the shutter (20) to protect sample from excess UV light.
For pictures (See page 9 for details).
Send light to the camera with the camera/eyepiece splitter knob (2).
Open Image Pro Plus software with the desktop icon.
Open an acquisition window.
Select the SensiCAM Cooke Driver v3.6.
Set bit acquisition depth.
Set file saving options.
Set single, interval or time lapse capture modes.
Set spatial calibration to match the objective that is being used.
Set exposure time or use auto exposure.
Open a live preview window.
Focus, adjust exposure time or lighting, adjust stage position.
Stop the preview and capture the image (or movie).
Save the image.
For measurements
Verify that the spatial calibration matches the objective.
Measure the distance or feature.
To burn the notations into the image, select the camera icon and save the new file.
To burn a scale bar into the image, use the caliper button and the 'Marker' button. Save the new file.
Shut down Steps
Always turn off the camera.
Always turn off the lamps.
Swing the 2.5X objective in place.
Transfer your images.
QUICK GUIDE
(Bold numbers are shown on the microscope diagram).
3
