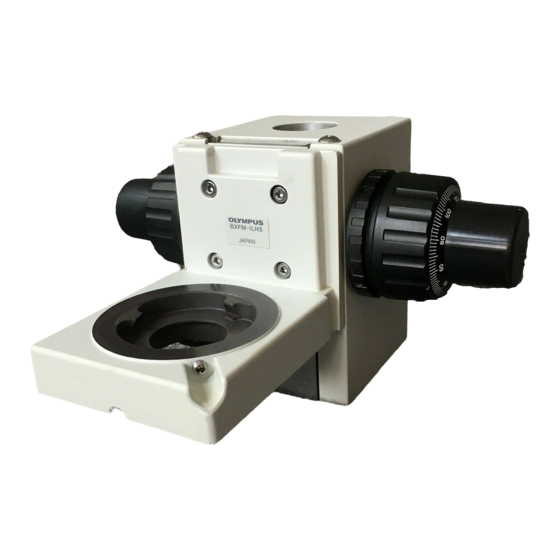
Olympus BXFM-ILH Руководство по эксплуатации - Страница 30
Просмотреть онлайн или скачать pdf Руководство по эксплуатации для Микроскоп Olympus BXFM-ILH. Olympus BXFM-ILH 36 страниц. Focusing unit

|
³
Fig. 27
Fig. 28
Using the Auxiliary Centering Screws
}When the BX-RLA2 or BX-URA2 illuminator is mounted on the BXFM-F focusing unit, it may be impos-
sible to center the aperture iris diaphragm since the focusing unit's coarse adjustment knob is positioned
in front.
27
ƒ
...
²
@
‡
†
@
²
11
Attaching the Cables and Cords
The cables and cords are vulnerable when bent or twisted. Never
subject them to excessive force.
Make sure that the main switch @ is set to "
necting cables and cords.
1. Insert the hand switch plug @ into the connector ².
2. Insert the lamp housing plug ³ into the connector |.
Always use the power cord provided by Olympus. IF no power cord
is provided with the microscope, please select the proper power
cord by referring to chapter "PROPER SELECTION OF THE POWER
SUPPLY CORD" at the end of this instruction manual.
3. Insert the power cord plug ƒ into the connector ....
4. Insert the power cord plug † into the wall power outlet ‡.
The power cord should be connected to a grounded, 3-conductor
power outlet. If the power outlet is not grounded properly, Olympus
can no longer warrant the electrical safety performance of the equip-
ment.
If a cable or the power cord comes in contact with the lamp housing
or the surroundings, the cable or cord may melt down, causing elec-
tric shock hazards. Be sure to distribute the cables at enough dis-
tance from the lamp housing.
If that is the case:
1. Insert the auxiliary centering screws @ into the AS cen-
tering screw holes on the illuminator.
2. Turn the auxiliary centering screws with the Allen screw-
driver ² (usable from an oblique position because of
its ballpoint design) to center the aperture iris diaphragm.
(Figs. 27 & 28)
" (OFF) before con-
