Sharp MX-2300N Guide Руководство по настройке программного обеспечения - Страница 9

Просмотреть онлайн или скачать pdf Руководство по настройке программного обеспечения для Принтер "все в одном Sharp MX-2300N Guide. Sharp MX-2300N Guide 48 страниц. Sharp mx-2700n, mx-2300n mfp - scan to e-mail instructions
Также для Sharp MX-2300N Guide: Технические характеристики (2 страниц), Руководство по устранению неполадок (44 страниц), Руководство по технике безопасности (28 страниц), Руководство по заполнению документов (47 страниц), Инструкции по сканированию в электронную почту (7 страниц)
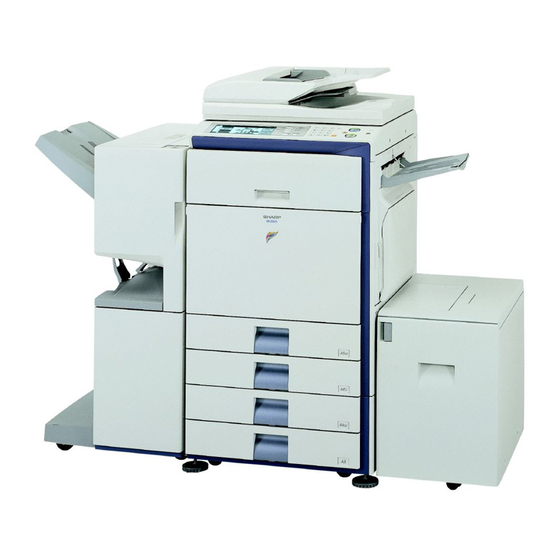
Sharp MX-2300N Guide Руководство по настройке программного обеспечения

CONNECTING THE MACHINE

CONNECTING TO A NETWORK

To connect the machine to a network, connect the LAN cable to the machine's network connector. Use a shielded LAN
cable.
After connecting the machine to a network, be sure to configure the IP address and other network settings before
installing the software. (The factory default setting for the IP address is to receive the IP address automatically when the
machine is used in a DHCP environment.)
Network settings can be configured using "Network Settings" in the system settings (administrator) on the machine.
• If the machine is used in a DHCP environment, the IP address of the machine may change. If this happens, printing will not
be possible. This problem can be avoided by using a WINS server or by assigning a permanent IP address to the machine.
• This manual explains how to set up the software in a Windows network environment and in a Macintosh network
environment.
CONNECTING THE MACHINE WITH A USB CABLE
(Windows)
The machine can be connected to a computer using a USB cable if the computer is a Windows computer. (The USB
interface on the machine cannot be used in a Macintosh environment.)
The machine and computer should be connected while the printer driver is being installed. If a USB cable is connected
before the printer driver is installed, the printer driver will not be installed correctly. For the procedure for connecting a
USB cable, see "WHEN THE MACHINE WILL BE CONNECTED WITH A USB CABLE" (page 15).
7