Shimano Ultegra 6770 Series Руководства - Страница 18
Просмотреть онлайн или скачать pdf Руководства для Велосипед Shimano Ultegra 6770 Series. Shimano Ultegra 6770 Series 24 страницы.
ADJUSTMENT
$ Adjustment of the rear derailleur
Junction (A)
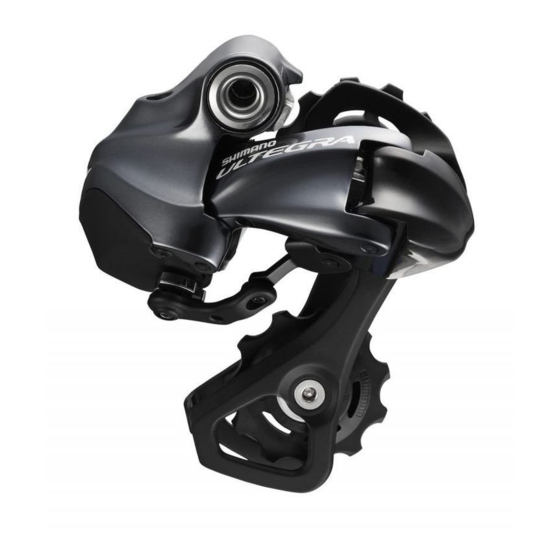
Rear derailleur
adjustment button
1.
Install the battery.
2.
Shift the rear derailleur to the 5th sprocket position. Press the button at the junction (A) of the SM-EW67-A-E until the red LED
illuminates in order to switch to rear derailleur adjustment mode. Note that if you keep pressing the button after the red LED
has illuminated, protection recovery operation will begin.
* For details on protection function, refer to 'Protection function' on page 38.
3.
If shifting switch (X) is pressed once while the initial setting condition is active, the guide pulley will move one step toward the
inside.
If shifting switch (Y) is pressed once, the guide pulley will move one step toward the outside.
The guide pulley can move 15 steps inward and 15 steps outward from the initial position, for a total of 31 positions.
When adjusting, the guide pulley will overrun slightly and then move back in an exaggerated movement so that you can check
the adjustment direction. When checking the positions of the guide pulley and the sprocket, check at the position where the
guide pulley finally stops.
4.
While turning the front chainwheel, operate shifting switch
(X) to move the guide pulley toward the inside until the chain
touches the 4th sprocket and makes a slight noise.
34
Illuminates (red)
5.
Next, operate shifting switch (Y) 4 times to move the guide
pulley toward the outside by 4 steps to the target position.
6.
Press the button at junction (A) until the red LED turns off in order to switch from rear
derailleur adjustment mode to gear shifting mode. Shift to each gear and check that
no noise is generated at any gear position. If fine adjustment is needed, switch back
to adjustment mode and readjust the rear derailleur.
7.
Next, carry out the adjustments for the low adjustment bolt and top adjustment bolt.
<Low adjustment>
Shift the rear derailleur to the largest sprocket, and then tighten the low adjustment
bolt until it touches against the stopper.
If it is tightened too much, the motor will detect a problem and gear shifting operation
will not be carried out correctly.
Symptom
• Does not shift to low gear.
• Noise does not stop.
• Battery charge disappears quickly.
(load is being placed on the motor.)
<Top adjustment>
Shift the rear derailleur to the smallest sprocket, and then tighten the
top adjustment bolt until it touches the stopper at the position where
the rear derailleur finally stopped. From this position, turn the top
adjustment bolt counterclockwise one turn so that an over-stroke
allowance can always be maintained.
4 times
4 steps
Turned off
Rear derailleur
adjustment button
2mm Allen key
Low adjustment bolt
2mm Allen key
Top adjustment bolt
35