Cisco WAP321 Краткое руководство по эксплуатации - Страница 5

Просмотреть онлайн или скачать pdf Краткое руководство по эксплуатации для Беспроводная точка доступа Cisco WAP321. Cisco WAP321 13 страниц. Reboot and reset to factory default settings
Также для Cisco WAP321: Обзор (6 страниц), Информационный лист (8 страниц), Брошюра и технические характеристики (4 страниц), Краткое руководство по эксплуатации (13 страниц), Руководство (4 страниц), Руководство (4 страниц)
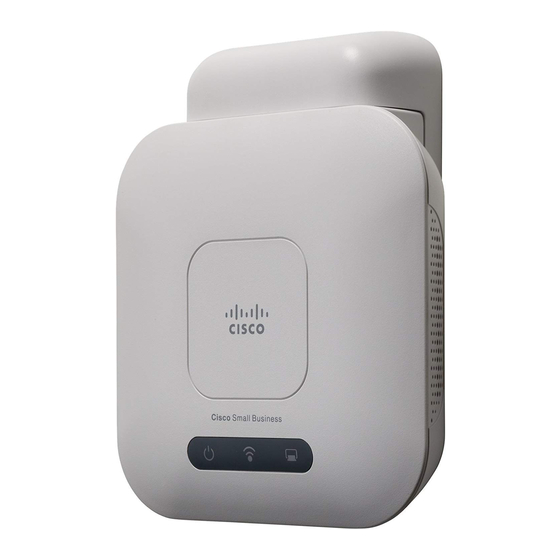
Cisco WAP321 Краткое руководство по эксплуатации
To mount the WAP device to a wall or ceiling:
Determine where you want to mount the device. Verify that the
S
1
TEP
surface is smooth, flat, dry, and sturdy.
Drill two pilot holes into the surface 1.85 inches (47 mm) apart for
S
2
TEP
the Cisco WAP121. For the WAP321, drill the holes 2.75 inches
(70 mm) apart.
Insert a screw into each hole, leaving a gap between the surface
S
3
TEP
and the base of the screw head.
Place the upper slots of the bracket over the screws, adjust the
S
4
TEP
screws accordingly, and slide the bracket down until the screws fit
snugly into the slots.
Using the bracket as a template, drill two more holes for the lower
S
5
TEP
screws.
Insert a screw into each lower hole.
S
6
TEP
Slide the WAP device into the bracket, placing the cables or cords
S
7
TEP
through the break-out tab found in the back of the bracket.
Connecting the Cisco WAP121 and
4
WAP321 Wireless-N Access Points
To connect the device to the network:
Connect the Ethernet cable to the Ethernet port of a switch or a
S
1
TEP
router.
Connect the other end of the network Ethernet cable to the
S
2
TEP
Ethernet port of the wireless access point.
If PoE is not provided, for the Cisco WAP121 plug in the power
S
3
TEP
adaptor to provide power to the device. For the Cisco WAP321, the
power adaptor is sold separately.
After installation, all lights should be active. Refer to
Hardware Installation, page 6
switch.
Cisco Small Business WAP121 and WAP321 Wireless-N Access Point with PoE
for details about the different lights on each
Verifying the
5