Cisco ASA 5506W-X Руководство по установке - Страница 10

Просмотреть онлайн или скачать pdf Руководство по установке для Сетевое оборудование Cisco ASA 5506W-X. Cisco ASA 5506W-X 46 страниц. Threat defense reimage guide
Также для Cisco ASA 5506W-X: Краткое руководство по эксплуатации (10 страниц), Руководство по конфигурации (13 страниц), Краткое руководство по эксплуатации (14 страниц), Руководство по простой настройке (11 страниц), Руководство по программному обеспечению (37 страниц), Монтаж и подключение (12 страниц), Установите шасси (10 страниц)
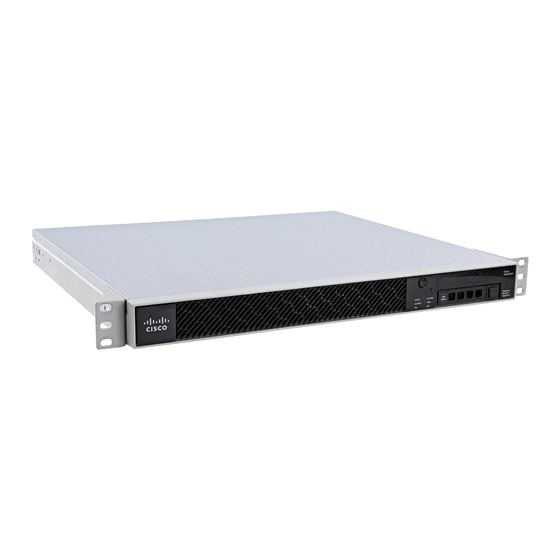
Cisco ASA 5506W-X Руководство по установке
Rear Panel
7
Reset button
A small recessed button that if pressed for longer
than three seconds resets the ASA to its default
"as-shipped" state following the next reboot.
Configuration variables are reset to factory
default. However, the flash is not erased and no
files are removed.
Note
Note
The following figure shows the rear panel of the 5506H-X.
Figure 6: ASA 5506H-X Rear Panel
1
Power cord socket.
The chassis power-supply socket. See
Supply Modules, on page 11
information about the chassis power supply.
Note
Cisco ASA 5506-X, ASA 5506W-X, and ASA 5506H-X Hardware Installation Guide
6
You can use the service
sw-reset-button command to disable
the reset button. The default is enabled.
Pressing the reset button on the ASA
5506W-X does not affect the AP
configuration, but it causes any
unsaved AP configuration to be lost,
because the system has rebooted. After
the system reboots, if you want a
default AP configuration, use the
hw-module module wlan recover
configuration command to recover
the AP configuration.
for more
The ASA is powered on when you
plug in the AC power supply.
8
Lock slot
The slot accepts a standard Kensington T-bar
locking mechanism for securing the ASA.
2
Status LEDs
Power
The locations and meanings of the status LEDs
are described in
Overview
LEDs, on page
7.
Online Only