Cisco ATA 191 Руководство пользователя - Страница 10

Просмотреть онлайн или скачать pdf Руководство пользователя для Сетевое оборудование Cisco ATA 191. Cisco ATA 191 30 страниц. Analog telephone adapter
Также для Cisco ATA 191: Руководство по администрированию (4 страниц), Руководство пользователя (10 страниц), Начать (8 страниц), Руководство (10 страниц), Краткое руководство по эксплуатации (13 страниц), Руководство по настройке (6 страниц), Руководство пользователя (40 страниц), Руководство пользователя (30 страниц)
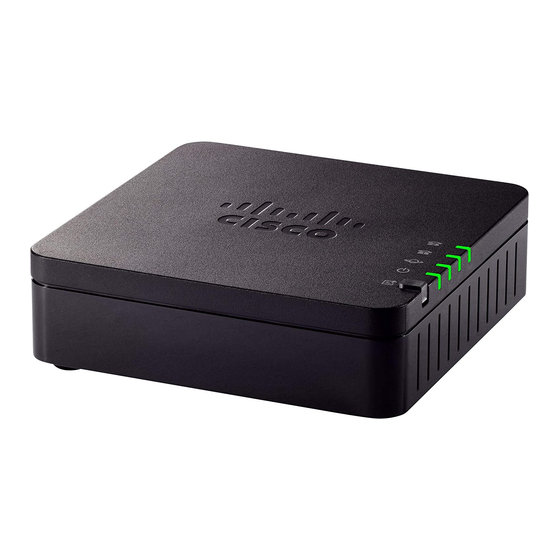
Cisco ATA 191 Руководство пользователя

Install Your New ATA

• Overhead paging systems
• Fax machines
Install Your New ATA
Your ATA comes with everything you need to power it up, connect it to the network, and set it up on your
desk.
Before You Begin
Before you begin the installation, make sure you have the following equipment:
• Ethernet cable to connect to your network
• Analog phone or fax machine to connect to your ATA
• Phone cable to connect your phone
• Uninterruptible power supply (UPS) to provide backup power
Procedure
Step 1
Connect the network cable to your network and to the NETWORK port on the ATA.
Cisco ATA 191 User Guide for Cisco Unified Communications Manager
6
◦ The ATA supports analog telephony voice devices, such as overhead paging adapters and answering
machines, that emulate a regular phone.
◦ Overhead paging systems provide alarms and public-address announcements in buildings.
◦Use a fax machine directly with an ATA. Don't connect an extension to a fax machine, and don't
use the fax machine with a splitter.
◦ To reduce fax failures, use overseas mode, if available; if not, set the fax machine transmission
speed to low.
◦ Data devices, such as facsimile machines and modems, may not function optimally. For the best
fax and modem performance, continue to use a dedicated PSTN line.
Get Started with Your New ATA