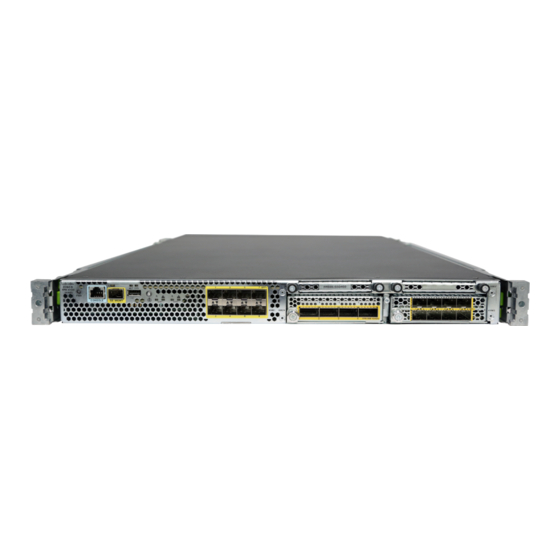
Cisco Firepower 4110 Начало работы - Страница 13
Просмотреть онлайн или скачать pdf Начало работы для Сетевое оборудование Cisco Firepower 4110. Cisco Firepower 4110 42 страницы. Rack-mount and ground the chassis
Также для Cisco Firepower 4110: Руководство по техническому обслуживанию и модернизации (20 страниц), Руководство (36 страниц), Руководство (26 страниц), Руководство (8 страниц), Руководство (42 страниц)

Getting Started
Cabling for the Firepower 1010
Figure 1: Cabling the Firepower 1010
• Connect your management computer to one of the following interfaces:
• Connect the outside network to the Ethernet 1/1 interface.
• Connect inside devices to the remaining switch ports, Ethernet 1/2 through 1/8.
• Ethernet 1/2 through 1/8—Connect your management computer directly to one of the inside switch
ports (Ethernet 1/2 through 1/8). inside has a default IP address (192.168.95.1) and also runs a
DHCP server to provide IP addresses to clients (including the management computer), so make sure
these settings do not conflict with any existing inside network settings.
• Management 1/1—Connect your management computer to the management network. The
Management 1/1 interface obtains an IP address from DHCP, so make sure your network includes
a DHCP server.
If you need to change the Management 1/1 IP address from the default to configure a static IP
address, you must also cable your management computer to the console port. See
Management Network Settings at the CLI, on page
You can later configure management access from other interfaces.
By default, the IP address is obtained using IPv4 DHCP and IPv6 autoconfiguration, but you can set a
static address during initial configuration.
Ethernet 1/7 and 1/8 are Power over Ethernet+ (PoE+) ports.
Cabling for the Firepower 1010
21.
Getting Started
(Optional) Change
13
