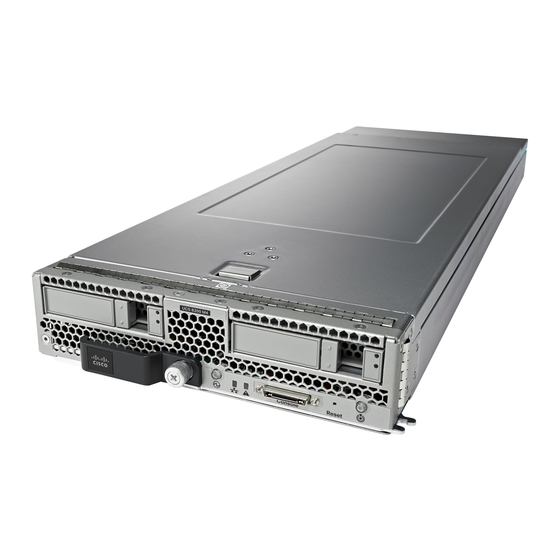
Cisco UCS B200 M4 Указания по установке и обслуживанию - Страница 17
Просмотреть онлайн или скачать pdf Указания по установке и обслуживанию для Сервер Cisco UCS B200 M4. Cisco UCS B200 M4 30 страниц. For e5-2600 v4 series cpus
Также для Cisco UCS B200 M4: Указания по установке и обслуживанию (46 страниц), Руководство по обновлению (9 страниц), Руководство по обслуживанию (24 страниц)

Step 3
Unhook the self-loading socket (SLS) lever
Step 4
Unhook the SLS lever .
Step 5
Grasp the sides of the CPU carrier (indicated by the arrows in the illustration) and swing it into a standing position in the
SLS plug seat.
Figure 12: CPU Carrier and SLS Plug Seat
Step 6
Pull the CPU carrier up and out of the SLS plug seat.
Installing a New CPU and Heat Sink
Before installing a new CPU in a server, verify the following:
• The CPU is supported for that given server model. This may be verified through the server Technical Specifications ordering
guides or by the relevant release of the Cisco UCS Capability Catalog.
• A BIOS update is available and installed that supports the CPU and the given server configuration.
• If the server will be managed by Cisco UCS Manager, the service profile for this server in Cisco UCS Manager will recognize
and allow the new CPU.
• The CPUs and heat sinks are different and must be installed in the correct location. The front heat sink and CPU 1 can only be
installed in the front of the blade server and the rear heat sink and CPU 2 can only be installed in the rear of the blade server.
.
17
