B3 innovations Pico Руководство - Страница 8
Просмотреть онлайн или скачать pdf Руководство для 3D-принтеры B3 innovations Pico. B3 innovations Pico 12 страниц.
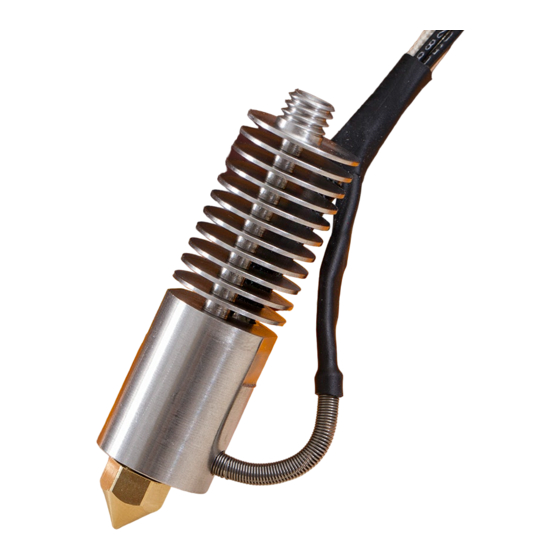
Inserting Thermistor Assembly Be sure your
n
printer is powered down and Pico is cool to the touch.
Grasp the spring as close to the glass bead of the
thermistor as possible and gently screw the thermistor
spring clockwise until the thermistor seats firmly against
the bottom of the threaded thermistor hole.
Be sure not to push or pull the spring while twisting.
You may need to wiggle the spring during the twisting
motion.
Using heat shrink or a zip tie, secure thermistor wires to
the heater wires being careful not to leave a sharp bend
in the spring strain relief.
Reconnect the thermistor wires leading into your
printer's electronics.
6
Pico User Guide