ABB JSHD4 Оригинальное руководство по эксплуатации - Страница 12
Просмотреть онлайн или скачать pdf Оригинальное руководство по эксплуатации для Блок управления ABB JSHD4. ABB JSHD4 20 страниц. Three-position enabling device
4
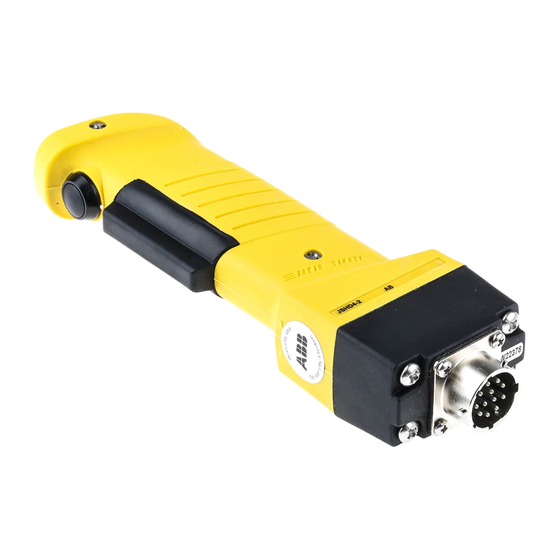
Installation and maintenance
Assembly instructions
If a complete and ready to install unit is at hand, connect the cable to the control unit and connect enabling device
to the cable. Otherwise, first assemble top and bottom part and, if needed, the anti-tampering unit (PCB) following
the instructions below.
1. If used, insert pins from anti-tamper unit (D) into connector (B) from handle (A).
13: Red
14: Black
2. Insert PCB as shown, components facing forward. Push it all the way in.
3. If no anti-tamper is used, a jumper may need to be inserted between positions 14 and 16 in connector (B),
depending on bottom part.
4. Remove protective liner from gasket (C) on handle.
5. Join connectors (B) and (E).
6. Press bottom part (F) against handle and tighten screws (G).
JSM55 installation
1. 1080°
2. 2-3Nm
SW=4mm
2TLC172052M0201, rev. A
2011-10-06
A
15: Blue 16: Pink
C
D
E
B
JSM 55 is designed to fit onto ABB/Jokab Safety
Quick-Guard aluminium fencing extrusions, but
can be used on any flat surface.
If the two pre-mounted nuts are used, place
them in the groove in the extrusion, and then
loosen each screw three turns before tightening
them.
12
G
F
www.jokabsafety.com