Xerox Nuvera 100 Дополнительное руководство - Страница 25

Просмотреть онлайн или скачать pdf Дополнительное руководство для Сервер печати Xerox Nuvera 100. Xerox Nuvera 100 48 страниц. Production system
Также для Xerox Nuvera 100: Технический паспорт (2 страниц), Характеристики Руководство (34 страниц), Руководство по планированию (22 страниц), Руководство пользователя (40 страниц), Руководство по эксплуатации (34 страниц), Справочное руководство (2 страниц), Руководство по планированию (20 страниц), Справочное руководство (42 страниц), Краткая справка (2 страниц), Руководство по установке (2 страниц), Руководство по планированию (38 страниц), Руководство по планированию (16 страниц), Справочное руководство (2 страниц), Технические характеристики (2 страниц), Руководство по советам и подсказкам (18 страниц), Руководство по советам и подсказкам (18 страниц), Руководство по началу работы (26 страниц), Руководство по началу работы (30 страниц)
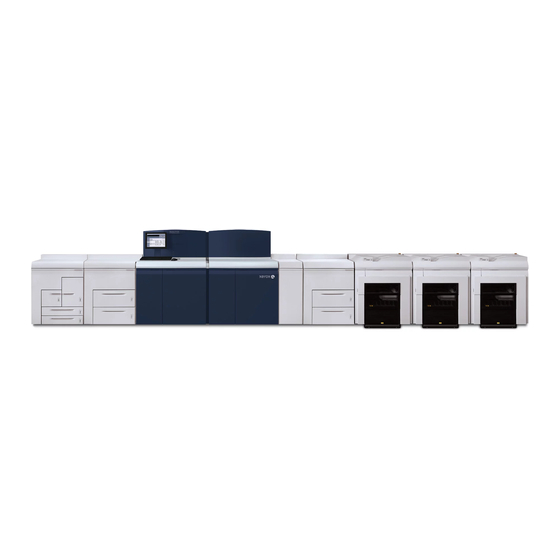
Xerox Nuvera 100 Дополнительное руководство

Overview of the printing process

Tape Client Job Submission Guide
2.
Managing and printing jobs from
the Tape Client
This chapter describes the procedures for setting up an offline
LCDS job and submitting it from the Tape Client for printing on
the DocuPrint 2000 Series EPS.
This section contains an overview of the steps to set up and print
an LCDS job from the Tape Client. For further details about each
step, refer to the section that is specified following the step.
1. Make sure that all the resources that the job requires (forms,
fonts, and JDLs) are loaded on the printer in the "lcds"
resources folder.
2. If any resources are missing, import them to the controller
disk from the media on which they reside. (Refer to
"Importing resource files," later in this chapter, for the
procedure.)
3. Load the job tape on your tape drive. Make sure that the tape
is at BOT (beginning of tape). (For instructions on loading
tapes, refer to the Xerox DocuPrint 2000 Series 100/115/135/
155/180 EPS Operator Guide for information on the Xerox
DocuPrint EPS cartridge tape drive, or refer to your tape drive
user documentation.)
4. Open the Tape Client window. (Refer to "Accessing the Tape
Client," in the "Managing the Tape Client" chapter.)
2-1