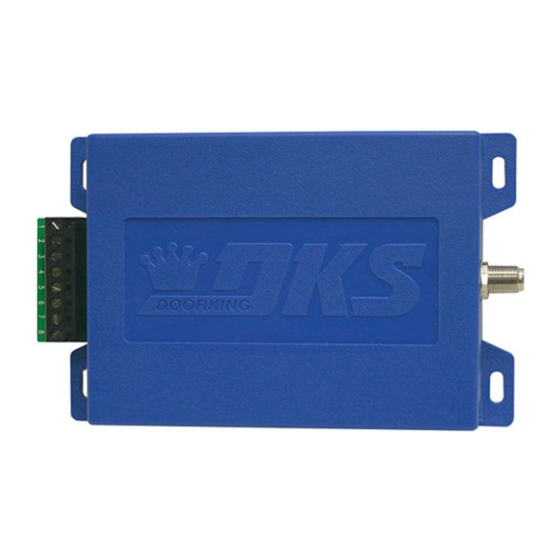
DKS 8040 microclik Руководство пользователя - Страница 2
Просмотреть онлайн или скачать pdf Руководство пользователя для Приемник DKS 8040 microclik. DKS 8040 microclik 3 страницы. Rf receiver
Также для DKS 8040 microclik: Руководство пользователя (4 страниц)

How Receiver Functions
The 8040 receiver responds to the MicroPLUS or MicroCLIK transmitter's "Transmitter
Code" that is defined by "Transmitter Button Codes" and "Facility Codes". For
example: an 8040 receiver can be programmed to respond to only the first button on a
multiple button MicroPLUS or MicroCLIK transmitter while a second 8040 receiver
can be programmed to respond to only the second button of the same multiple
button MicroPLUS or MicroCLIK transmitter. Thus allowing a single multiple button
MicroPLUS or MicroCLIK transmitter to activate two different receivers without
fear of both receivers responding to the same transmitter code.
In wiegand output mode (Program selector setting 2, 3 or 4), you have the option of
having the receiver match (Program selector setting 5) or ignore (Program selector
setting 6) the facility code to allow the receiver to activate. One receiver can be
programmed to respond to a specific facility code while another receiver can be programmed
for a different facility code.
Programming Selector's 11 positions:
1. Learn Single Transmitter
2. 26-bit Wiegand Mode (Factory Setting)
3. 31-bit Wiegand Mode
4. 30-bit Wiegand Mode
5. Match Facility Code
6. Ignore Facility Code (Factory Setting)
Check if Receiver is set for MicroPLUS or MicroCLIK Mode
1. Turn receiver's power OFF then back ON.
2. Receiver will BEEP twice for MicroCLIK mode. Receiver will BEEP three times for MicroPLUS mode (Factory Setting).
If you need to change the receiver's mode, follow the steps below.
CAUTION:
Changing an EXISTING programmed receiver from one mode to the other will erase ALL EXISTING MEMORY that has been previously
programmed in the receiver. This cannot be UNDONE.
Change Mode (MicroPLUS or MicroCLIK)
1A. Turn the Programming Selector to "Position B" will change to MicroPLUS mode.
1B. Turn the Programming Selector to "Position C" will change to MicroCLIK mode.
2. Press and hold Program Button until the Program LED flashes ONCE and receiver will BEEP once. Press and hold button again, LED will flash
and receiver will beep. Press and hold button a third time until LED continually flashes and beeps.
Note: If receiver does not emit a continuous beep after pressing the button 3 times, try repeating step 2 faster or slower until it does.
3. Turn power OFF, then back ON. Receiver will BEEP twice for MicroCLIK mode (1B) or three times for MicroPLUS mode (1A).
Learn a Single Transmitter for Wiegand Output
Only a single transmitter needs to be programmed (Learned) into the receiver memory. All other transmitters that match the Learned transmitter's
Facility Code and Transmitter Button Code will be output in wiegand format to the access controller.
Important: This programming is for wiegand output to an access controller ONLY and will NOT work when using the Stand-Alone setup (Relay
connection). Low power mode can only be used in Stand-Alone setup.
1. Turn the Programming Selector to Position 1.
2. Press and HOLD Program Button until the Program LED flashes ONCE and receiver will BEEP once. Receiver is now in "Learn Mode" and will
flash and beep for 10 seconds.
3. Press a specific button on the desired transmitter to be "Learned" within 10 seconds, wait for the receiver to time-out.
All desired transmitters with matching facility/button codes will now operate when their button is pressed.
26, 30 or 31-Bit Wiegand Output
The receiver can be changed from the factory set 26-Bit to 30 or 31-Bit wiegand output if desired.
1A. Turn the Programming Selector to "Position 2" will change to 26-Bit Wiegand (Factory Setting).
1B. Turn the Programming Selector to "Position 3" will change to 31-Bit Wiegand.
1C. Turn the Programming Selector to "Position 4" will change to 30-Bit Wiegand.
2. Press and hold Program Button until the Program LED flashes ONCE and receiver will BEEP once.
3. Receiver LED will then give a long flash and beep.
4. This indicates receiver is now changed to "Your Selected Wiegand Bit Size Chosen in Step 1".
8040 065-E-7-14
7. Not Used
8. Low-Power Mode (Stand-Alone Setup ONLY)
9. Normal-Power Mode (Factory Setting)
A. Erase ALL Memory
B. Set Receiver to MicroPLUS Mode (Factory Setting)
C. Set Receiver to MicroCLIK Mode
D-F. Not Used
2
Program
Selector
Program Button
Program LED: Will flash
sequences during
programming and
flashes during normal
operation or frequency
interference.
Wiegand LED's: Will blink
as wiegand data is being
transmitted.
