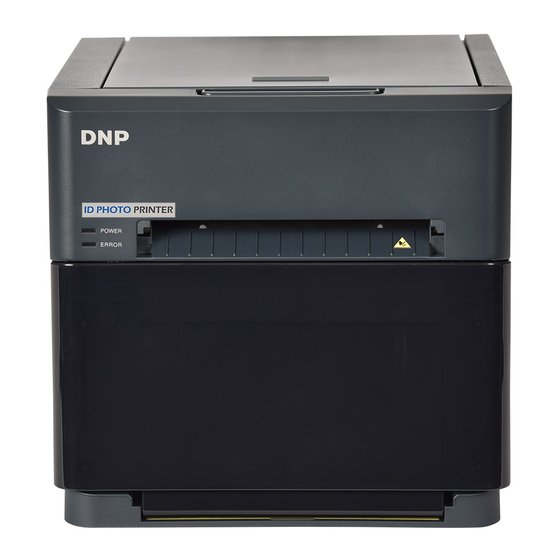
DNP IDW520 Краткое руководство по эксплуатации - Страница 8
Просмотреть онлайн или скачать pdf Краткое руководство по эксплуатации для Цифровая камера DNP IDW520. DNP IDW520 17 страниц. Id photo system
Также для DNP IDW520: Руководство по вводу в эксплуатацию (17 страниц)

IDW520 Photo ID System
USING THE SYSTEM
Starting the System (for the 1
Follow the proper sequence when powering ON the system. First the photo
printer, then the IDW520 console, and finally the passport camera.
• Power ON the ID Photo Printer.
• Press the power switch on the back of the printer. As the printer
initializes, it will check the media quantities and make sure everything
is properly installed.
• When the power light on the printer is green, it is ready for use.
• Power ON the Processor Console.
• Press and hold the power button on the right side of the console
for a few seconds. Release the power button when the boot screen
appears and the console will complete booting-up.
• The console will initialize.
• When the main screen is displayed on the console and the printer
window has a green outline, you can continue.
• Once the printer and console are powered ON, a POST test image is
printed - this signals that the printer and console are connected and
ready for use.
• Power ON the ID Photo Camera.
• Make sure the battery is fully charged and the SD Wi-Fi camera card
is installed.
• Make sure the dial on the top of the camera is in the P position.
• Power the camera ON.
• The camera will initialize and the LCD screen on the back of the
camera will power on.
• Verify the system is ready for use.
• The camera icon turns green when the system is ready for use.
You are now ready to take ID photos!
8
time)
st
