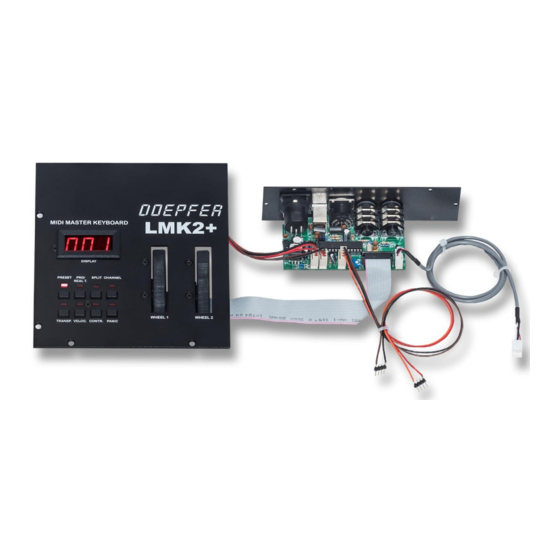
DOEPFER LMK2+ Руководство пользователя - Страница 6
Просмотреть онлайн или скачать pdf Руководство пользователя для Электронная клавиатура DOEPFER LMK2+. DOEPFER LMK2+ 12 страниц. Midi master keyboard usb version
Также для DOEPFER LMK2+: Краткое руководство по эксплуатации (6 страниц)

7 CONTROLLER
In this menu the on/off status of each wheel, the after touch sensor, the external foot switches and the external
foot controller is determined for each keyboard zone, as well as the controller number (#1...31) for the first
wheel (the not spring loaded type).
8 PANIC
This menu provides a PANIC-button which can be used in any operational mode.
7.3 DETAILED DESCRIPTION OF MENUS
The following rules apply to all menus and will not be mentioned in each individual menu description:
• A menu is activated by pressing the corresponding MENU-button. The active menu is indicated by an
illuminated LED.
• In some cases, menus are deactivated automatically once certain parameters have been set. The keyboard
will then go into PLAY-mode. Other menus can be exited only by pressing another MENU-button. (This
method of leaving a menu will work with all menus)
• Repeated pressing of the same MENU-button will cause a switch to the next keyboard zone or to the next
parameter (except for the PRESET- and PANIC-buttons !). In order to go into the next keyboard zone or to
the next parameter, the button for the presently active menu has to be pressed again. This is continued until
the desired keyboard zone or the desired parameter has been reached. The process is circular, i.e. after
zone 4 one jumps back to zone 1 and starts over again.
• Some functions cause a sequence of letters and/or numbers to appear on the display prior to it indicating
PLAY-mode with "PLA". However, the keyboard will already be in PLAY-mode and the user can play on the
keyboard. The time-delay for the display change was chosen in order for the user to be able to read the
parameter which has been set. If the display were to change immediately, the parameter would only appear
for a fraction of a second and would thus be impossible to read.
• In order to set the various parameters, both the controls and keys on the keyboard are being utilized. A
graphic representation of the functions of the keyboard keys is provided below.
All the white keys and two of the black keys of the lowest octave (C-C) have the following special functions in
the PROGRAM CHANGE/BANK/REAL TIME menu:
C
Select number range 1-32
D
Select number range 33-64
E
Select number range 65-96
F
Select number range 97-128
G
START
A
STOP
H(B) CONTINUE
CIS
Select Controller #0-Mode
DIS
Select Controller #32-Mode
The NUMBER-keys which are needed to enter numbers (Program-number, Midi-channel, Velocity-response
curve, Controller-number) in some menus start with C in the next higher octave (i.e. C=1, Cis=2, D=3, Dis=4,
etc.). The number labels 1-32 above the keyboard make it easier to find the right number key.
LMK2+/USB User's Guide Page 6
