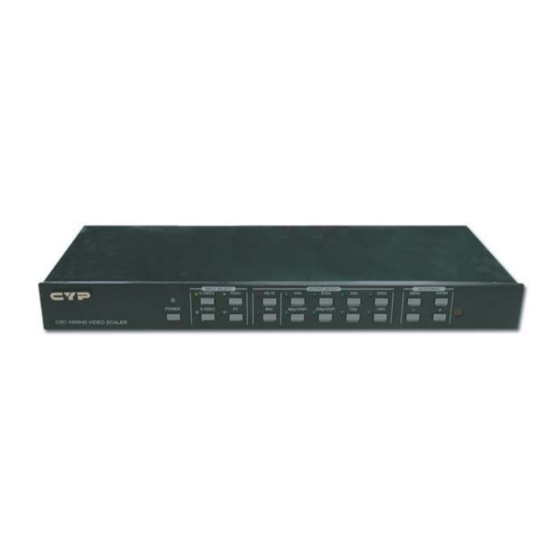
CYP CSC-1600HD Руководство по эксплуатации - Страница 7
Просмотреть онлайн или скачать pdf Руководство по эксплуатации для Медиаконвертер CYP CSC-1600HD. CYP CSC-1600HD 11 страниц. Video scaler

9. OSD Menu Operation
Vertical frequency rate adjust- When it is selected it allows you to choose different
OSD display- It allows you to enable or disable the OSD display of the output
information appeared on the upper left corner of the screen.
Output Terminal - This allows you to choose which one of the two output terminals,
IR Sensor- This allows you to enable or disable the IR sensor for the Remote control.
When it is disabled the command issued from the remote control can not be
received by the main unit.
Front Panel Lockout- Under certain circumstances it may be desirable to disable the Front Panel
10. Remote Control
1. Power: Power ON/OFF button.
2. Display: Press the button to enable or disable the ON
Screen Display of the input/output information.
3. C-Video: Press the button to select composite video
as input source.
4. S-Video: Press the button to select S-Video as input source.
5. YCbCr: Press the button to select YCbCr as input source.
6. PC: Press the button to select PC input looping through
to the output.
7. VGA: Press the button to slect 640 x 480 as output resolution.
8. SVGA: Press the button to select 800 x 600 as output resolution.
9. XGA: Press the button to select 1024 x 768
as output resolution.
10. SXGA: Press the button to select 1280 x 1024
as output resolution.
11. WXGA: Press the button to select 1280 x 768
as output resolution.
12. 480p: Press the button to select 852 x 480p as output
resolution.
13. 576p: Press the button to select 852 x 576p as output
resolution.
14. 720p: Press the button to select 1280 x 702p as output resolution.
15. 1080i: Press the button to select 1920 x 1080i (interlaced) as output resolution.
16. 1365 x 768: Press the button to select 1365 x 768 as output resolution.
17. HD-15: Press the button to select 15 pin D-sub connector as output terminal.
18. BNC: Press the button to select RGBHV BNC connector as output terminal.
19. Menu: Press the button to enter into main menu page or to exit from a sub-menu.
20. Enter : Press the button to confirm your selection of an adjustment parameter.
21.
: Press the
parameter.
22.
: Press the button to increase or decrease the value of the selected parameter.
vertical frequency while under VGA, SVGA or XGA modes.
The higher the vertical refresh rate the less flicker the
picture will be. When the vertical refresh rate of an output
mode is changed, so will its horizontal scanning rate. please
refer to specification page-for cross relationship between
vertical and horizontal scanning rate.
HD-15 or BNC, will have the output signal.
When one is selected the other won't have signal.
Conrols. For example, to prevent unauthorized or accidental changes to
the setting while the unit is in use. To disable the Front Panel Controls.
press MENU, choose the Front Panel Lockout section and press ENTER.
Then you may choose Front Panel Controls OFF. In the OFF position, the
unit will not respond to commands from the Front Panel.
To return to normal operation, press and hold simultaneously the + and -
buttons for 3 seconds or use the IR Remote Control to gain access to the
Menu or use the RS-232 commaands.
or
to move up or move down the hight-light bar to a desired
6
POWER
DISPLAY
VGA
SVGA
XGA
C-VIDEO
SXGA
WXGA
480p
S-VIDEO
576p
1080i
720p
YCbCr
1365X768
HD-15
BNC
CR-16
MENU
ENTER
PC
