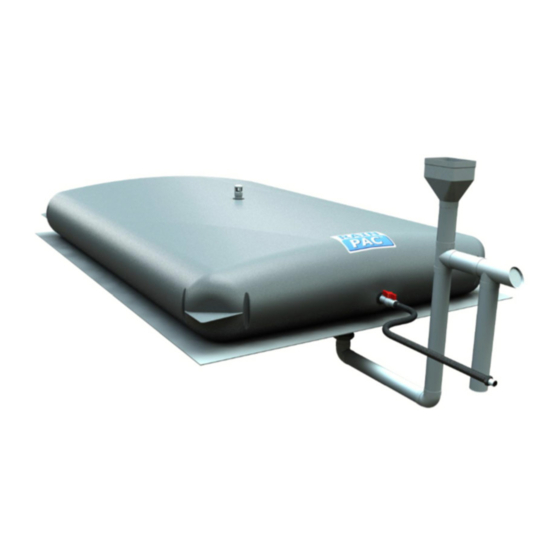
FloatPac RainPac Kurulum Kılavuzu - Sayfa 6
Su Isıtıcı FloatPac RainPac için çevrimiçi göz atın veya pdf Kurulum Kılavuzu indirin. FloatPac RainPac 16 sayfaları. Under house and decking flexible rainwater harvesting bladder tanks

INSTALLATION:
Points covered:
·
Levelling of selected site;
·
Unpacking the RainPac
·
Inlet bladder connection;
·
Outlet bladder connection; and,
·
Installing the downpipe diverter, overflow and connection to the RainPac FloatPac.
1. Level the selected site with a spirit level and a piece of timber, which should ideally be the width of the area you have selected. Check and recheck
the levelled area for anything sharp or dangerous that could harm the bladder (and its installer!).
2.
Carefully remove the RainPac
fittings are. This is the end that is closest to the downpipe/s. The RainPac
box and lay out flat.
Please note: As the RainPac
(4") Hansen inlet is facing towards the ground. The 2" (50mm) vent fitting in the centre of the RainPac
towards the sky. Also, do not be concerned if when you roll the bladder out it looks too wide for the area – as the bladder moves in at the sides as it
fills, it will not cause any damage to the bladder or surrounding joiners/bearers and foundations.
PLEASE MAKE SURE THE INLET FITTING IS FACING THE GROUND ONCE INSTALLATION IS COMPLETE
TM
and rolling out onsite;
TM
from its box and separate the fitting kit from the bladder. The end that you will first see is the end where all the
TM
has been rolled up the correct way, it is very easy to install. Make sure that once the bladder is laid out flat, the 100mm
TM
has been rolled the correct way so you can simply remove it from the
TM
is the only fitting that should be facing
P a g e
6 | 15
