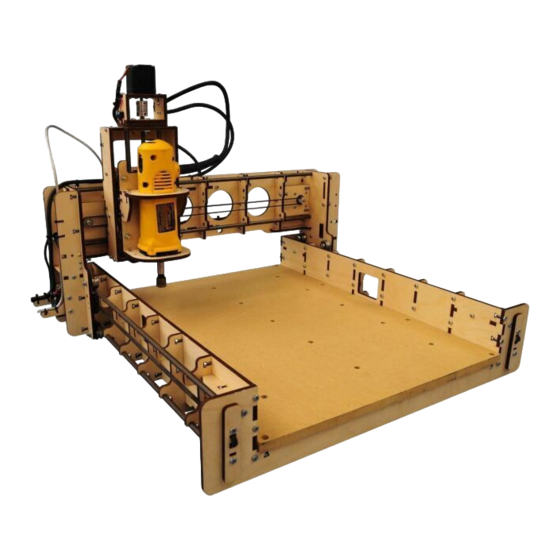
BobsCNC E3 Sorun Giderme Kılavuzu - Sayfa 10
Kontrol Sistemleri BobsCNC E3 için çevrimiçi göz atın veya pdf Sorun Giderme Kılavuzu indirin. BobsCNC E3 16 sayfaları. Cnc router engraver bearing and rail dust kit
Ayrıca BobsCNC E3 için: Manuel (8 sayfalar), Hızlı Başlangıç Kılavuzu (3 sayfalar)

- 1. Table of Contents
- 2. My Stepper Motors Are Running Backward
- 3. My Z Axis Is Not Homing Correctly
- 4. My E3 will Not Home Correctly (Diagnosing Home Switches)
- 5. My Firmware Does Not Seem to be Working
- 6. I Tried to Use Easel, Now My Machine Does Not Work Correctly
- 7. I Get and Error When I Run a G-Code File Made with F-Engrave
- 8. My Z Stepper Motor Wobbles Excessively
- 9. My Machine Seems to be Skipping some Commands
- 10. What Are the Alarm Code Descriptions
- 11. How Do I Change My Current Setting on the Stepper Motor Drivers
- 11. Setting the Current on the A4899 Stepper Motor Driver with a Volt Meter
- 11. Setting the Current on the A4899 Stepper Motor Driver Without a Volt Meter
- 12. The Dewalt Motor Shaft Came out During Assembly. (Dewalt Brush Remove and Replace)
clockwise.
Setting the current on the A4899 stepper motor driver without a volt meter.
While a voltmeter will give you more accurate results. The drivers can be adjusted by turning them up or
down 1/8 of a turn and checking for proper movement after each setting.
Stepper motor current too low – The stepper motor is cool to the touch after it has been on for
a while. The stepper motor driver is not suppling enough current for the stepper motor to drive
axis. Turn up the stepper motor current on the A4988 driver.
Stepper motor current too high –The stepper motor is hot to the touch after it is been on for a
while. The stepper motor driver is heating up and going into protection mode. Once it cools it
turns back on. This can look like erratic stepper motor movement. Turn down the stepper
motor current on the A4988 driver.
The DeWalt motor shaft came out during assembly. (DeWalt brush
remove and replace)
If the shaft accidently fell out during assembly or you need to replace worn motor bushings these steps
will guide you thru the process of removing and replacing the motor's brushes.
