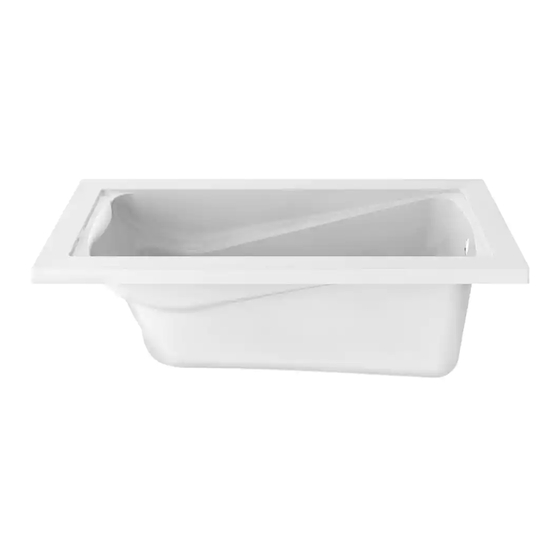
American Standard Fluent 7186.910 Kurulum ve Kullanım Kılavuzu - Sayfa 10
Küvetler American Standard Fluent 7186.910 için çevrimiçi göz atın veya pdf Kurulum ve Kullanım Kılavuzu indirin. American Standard Fluent 7186.910 14 sayfaları. Bath waste and overflow with toe tapper drain plug & deck mount bath filler

3
VALVE ASSEMBLY
• Install LOCKNUTS (1) and RUBBER WASHERS (2) onto valve shanks.
• Slide HOSE CONNECTOR (10) onto VALVE BODY (4). Slide
HOSE CONNECTOR G1/2 (11) onto TEE (5) Slide HOSE (3)
assembly into opening of both VALVE BODIES (4) and TEE (5).
Tighten HOSE CONNECTOR (10) and (11) firmly.
• Threads of VALVE BODY (4) should extend at least 5/16 inch
above MOUNTING SURFACE (8). If necessary, adjust
LOCKNUT (1).
• Place RUBBER RING (7) into ESCUTCHEON (6) and thread
onto valves until snug against internal stop.
• Tighten LOCKNUT (1) to secure VALVE (4)
position with channel locks.
• Connect HOT water supply to inlet of left VALVE
and COLD water supply to inlet of right
VALVE using appropriate connector.
4
DIVERTER INSTALLATION
NOTE: Use thread sealant on all threaded connections.
• Assemble MOUNTING NUT (7) and WASHER (8) onto
DIVERTER BODY (6).
• Insert the DIVERTER BODY (6) through the mounting deck
from below. Place RUBBER RING (10) into ESCUTCHEON (9)
and thread onto DIVERTER BODY THREADS (6) until snug
against internal stop.
• Position the DIVERTER BODY (6) as required and tighten the
MOUNTING NUT (7) securely.
• Connect the water inlet and tub outlet lines to the DIVERTER
BODY (6).
• Thread HOSE (4) into the SHOWER CONNECTION (5) of the
DIVERTER BODY (6) and tighten securely. Check with local
plumbing codes for backflow prevention requirements.
Install a backflow prevention device if required.
7
5/16'' MIN.
4
6
7
10
HOT
4
6
3
8
MOUNTING
SURFACE
2
1
FITTING
MOUNTING
SURFACE
TUB OUTLET
- 2 -
8
MOUNTING
SURFACE
6
7
11
11
5
10
9
10
8
7
6
WATER INLET
FROM TEE
5
4
M965798 Rev. 1.0 (3/17)
COLD
