Canon PIXMA MX700 Series Ağ Kurulum Kılavuzu - Sayfa 26

Hepsi Bir Arada Yazıcı Canon PIXMA MX700 Series için çevrimiçi göz atın veya pdf Ağ Kurulum Kılavuzu indirin. Canon PIXMA MX700 Series 32 sayfaları. Office all-in-one printer
Ayrıca Canon PIXMA MX700 Series için: Temizlik Kılavuzu (7 sayfalar), Tamamlayıcı Kılavuz (6 sayfalar), Kurulum Talimatları (2 sayfalar), Broşür ve Teknik Özellikler (2 sayfalar), Teknik Bilgiler (2 sayfalar), Servis Kılavuzu (44 sayfalar)
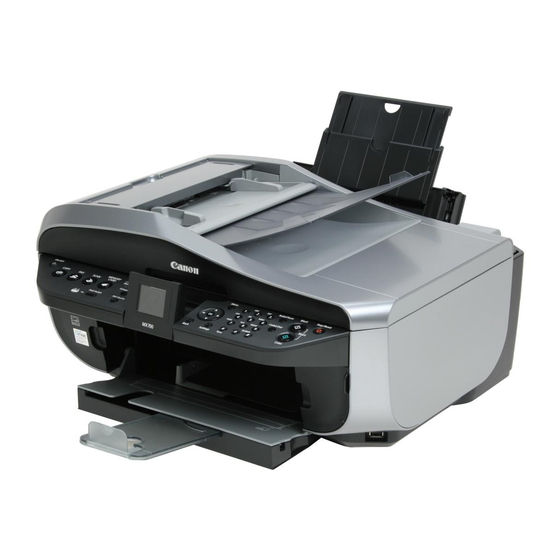
Canon PIXMA MX700 Series Ağ Kurulum Kılavuzu
8
Select Canon IJ Network in the pop-up
menu, select your machine's name in the list
of printers, then click Add.
Note
The alphanumeric string after the machine's name
is its MAC address.
If the machine has not been detected, make sure of
the following.
– The machine is turned on and connected to the
network device with the LAN cable.
– The machine is not set to use access control.
– The firewall function of any security software is
turned off.
9
Confirm that your machine's name is added
to the list of printers.
10
On the Canon IJ Network Scanner Selector
screen, confirm that Canon XXX Network
(where "XXX" is your machine's name) is
selected in TWAIN Data Source Name and a
check mark is displayed on the MAC address
of the machine in Network Device List, then
click Exit to close the dialog box.
If a check mark is not displayed, select the MAC
address of the machine in Network Device List,
then click Apply to use the machine as a scanner.
Note
To confirm the machine's MAC address, display the
machine's network setting information referring to
"Displaying and Initializing Network Settings" in the
User's Guide on-screen manual.
For details on how to scan, refer to the User's
Guide and Scanning Guide on-screen manuals.
11
After the MP Drivers are installed, start the
Canon IJ Network Tool to mount the Card Slot.
For details on the network setup of the Card Slot,
refer to "Using the Card Slot over a Network" in the
User's Guide on-screen manual.
26