Dorf INCA Kurulum Talimatları - Sayfa 2
Sıhhi Tesisat Ürünleri Dorf INCA için çevrimiçi göz atın veya pdf Kurulum Talimatları indirin. Dorf INCA 2 sayfaları. Pull down sink mixer

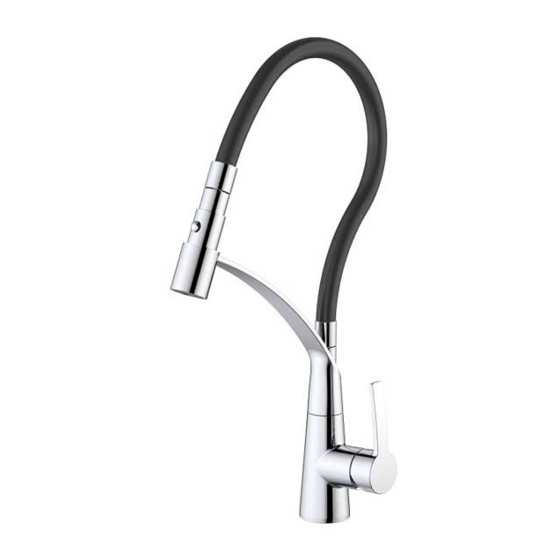
INCA - PULL DOWN SINK MIXER
PLUMBERS ADJUSTMENT INSTRUCTIONS
Adjusting the HOT LIMIT RING (ANTI-SCALD STOP RING)
The cartridge fitted in this mixer has been factory pre-set to deliver
the maximum available hot water temperature. To use the ANTI-SCALD
feature adjust the cartridge as follows:-
Carefully remove plug (4). Using 2.5mm allen key (3) loosen screw (2)
and remove handle (1). Unscrew cap (5) taking care not to damage the
decorative finish. (See details on side 1 of this sheet.)
To remove the Hot Limit Ring (7) from the cartridge (9), use a small thin
flat bladed screwdriver and carefully lever in an upwards direction.
Rotate the Ring (7) in a clockwise direction then refit the Ring (7) onto
the cartridge (9).
Note:- Start by rotating the Ring (7) in small increments, then check the
hot water temperature with the mixer handle in the fully open maximum
hot water position. The Ring (7) can be removed & repositioned until the
desired maximum hot water temperature is achieved.
Ensure the Ring (7) is pushed fully down onto the cartridge (9), then replace
cap (5), tightening by hand. Fit handle (1), taking care that it is pushed
fully onto cartridge stem, tighten screw (2) and replace plug (4).
Adjusting the WATER VOLUME LIMIT SCREW
The cartridge fitted in this mixer has been factory pre-set to deliver
the maximum flow of water when the mixer handle is in the fully open
position. However the flow of water may be reduced by adjusting
the cartridge as follows:-
Carefully remove plug (4). Using 2.5mm allen key (3) loosen screw (2)
and remove handle (1). Unscrew cap (5) taking care not to damage the
decorative finish. (See details on side 1 of this sheet.)
Using a small thin flat bladed screwdriver, adjust screw (8) in an anti-clockwise
direction.
Note:- Start by rotating the Screw (8) in small amounts then check the
flow of water with the mixer handle in the fully open position. Readjust
the screw until the desired water flow is achieved.
Replace cap (5), tightening by hand. Fit handle (1), taking care that it is
pushed fully onto cartridge stem, tighten screw (2) and replace plug (4).
WATER EFFICIENT TAPWARE
7
9
Fig. 2
8
9
Fig. 3
(SIDE 2 OF 2)
IS1387A(03/15)
