Bosch 800 Series Kurulum Talimatları Kılavuzu - Sayfa 6

Fırın Bosch 800 Series için çevrimiçi göz atın veya pdf Kurulum Talimatları Kılavuzu indirin. Bosch 800 Series 24 sayfaları. Built-in wall ovens
Ayrıca Bosch 800 Series için: Kurulum Kılavuzu (40 sayfalar), Kullanım ve Bakım Kılavuzu (12 sayfalar), Kurulum Kılavuzu (23 sayfalar), Kurulum Kılavuzu (28 sayfalar), Kurulum Kılavuzu (32 sayfalar), Kullanım Kılavuzu (32 sayfalar), Kurulum Kılavuzu (32 sayfalar), Hızlı Başlangıç ve Güvenlik Kılavuzu (7 sayfalar), Kullanım ve Bakım Kılavuzu (40 sayfalar), Kurulum Kılavuzu (40 sayfalar), Kurulum Kılavuzu (32 sayfalar), Kurulum Talimatları Kılavuzu (40 sayfalar), Kurulum Kılavuzu (48 sayfalar), Kullanım ve Bakım Kılavuzu (33 sayfalar), Kullanım ve Bakım Kılavuzu (49 sayfalar), Hızlı Başlangıç Kılavuzu (7 sayfalar), Hızlı Başlangıç ve Güvenlik Kılavuzu (13 sayfalar), Kurulum Kılavuzu (32 sayfalar), Servis Kılavuzu (36 sayfalar), Kurulum Talimatları Kılavuzu (29 sayfalar), Kullanım ve Bakım Kılavuzu (24 sayfalar), Kullanım ve Bakım Kılavuzu (40 sayfalar), Kurulum Talimatları Kılavuzu (28 sayfalar)
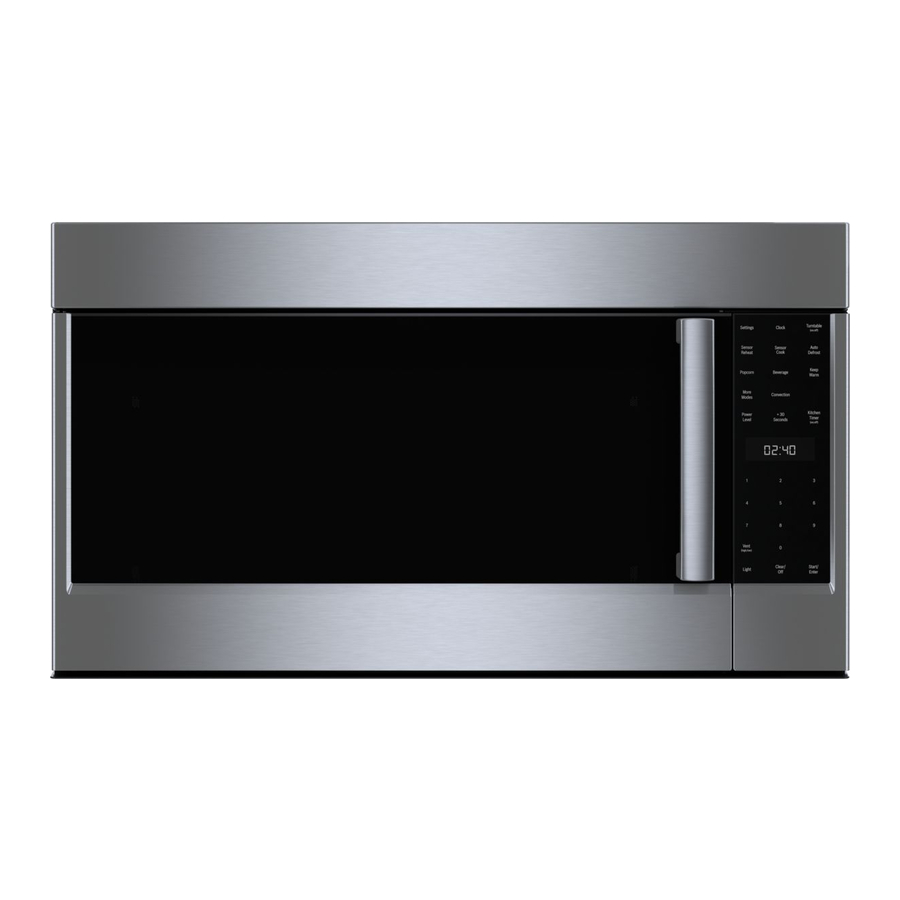
Bosch 800 Series Kurulum Talimatları Kılavuzu
Figures 2, 3 and 4 contain many Drawer Microwave measure-
ments for reference when planning the drawer's location.
This Drawer Microwave can be installed below any electric or
gas wall oven.
NOTICE:
Always allow sufficient power cord length to the

Anti-Tip Block

Normal Installation Steps
Anti-Tip Block Installation Instructions
The anti-tip block reduces the risk of drawer tipping when
installed properly. Install the anti-tip block 14
above the installation opening floor (where the unit will
sit) for a standard installation or 14
installation. See Figure
3 (standard installation)
or Figure 4 (flush instal-
lation) and Figure 5.
The 6-inch anti-tip block
must be provided by the
5"
installer.
If the Drawer Microwave
4"
is ever moved to a
different location, the
anti-tip block must also
be moved and installed.
Flush Installation Dimensions and Clearances
Figure 4
13
/
inches
16
5
/
inches for a flush
8
6"
Anti-Tip
block
3
1
/
"
2
Figure 5
electrical outlet to prevent tension.
Always check electrical codes for requirements.
If the anti-tip block is to be anchored to the wall make cer-
tain that the screws holding it penetrate into the structural
members (studs) behind any covering such as drywall.
The anti-tip block prevents serious injury that might result
from spilled hot liquids.
Make sure that the screws do not contact any
CAUTION
wiring or plumbing that may be present in the wall.
WARNING
The unit can tip and cause spills and potential burns
or other injuries if the anti-tip block is not installed
correctly.
English 6