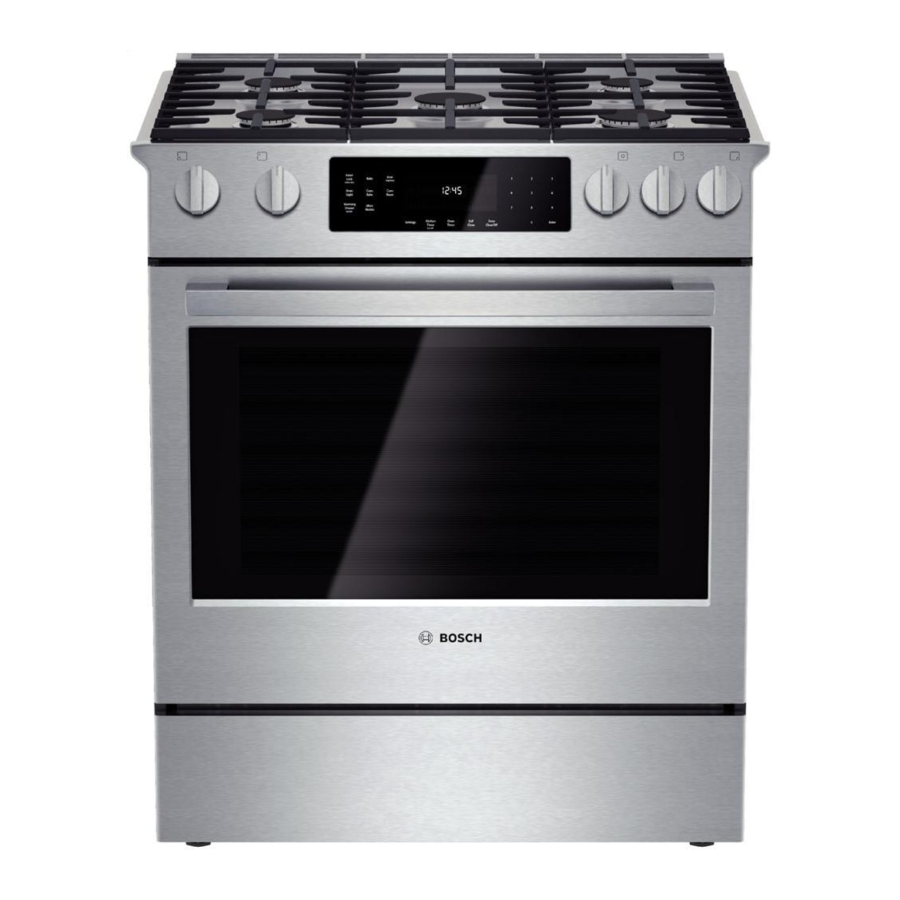
Bosch Vision 800 Series Servis Kılavuzu - Sayfa 19
Fırın Bosch Vision 800 Series için çevrimiçi göz atın veya pdf Servis Kılavuzu indirin. Bosch Vision 800 Series 36 sayfaları. Gas slide-in ranges
Ayrıca Bosch Vision 800 Series için: Kullanım Kılavuzu (40 sayfalar), Boyutlar ve Özellikler (2 sayfalar), Kurulum Kılavuzu (6 sayfalar), Servis Kılavuzu (43 sayfalar), Kurulum Talimatları Kılavuzu (28 sayfalar)

58300000194725 ARA EN B
Also attached to the front panel assembly are the display board and
its sheet metal carrier. These parts are not actually included with the
front panel service assembly; the display must be ordered separately.
Front Panel Test is available in Service mode. See the Service Mode
section for details.
6.3.1 Replacing the Control Panel Assembly
1. Remove power to the range.
2. Protect the top of the oven door to prevent damage to the front
panel or door.
3. Remove two screws on the underside of the panel assembly –
one on the right and one on the left – which secure the panel
to the vent trim.
4. Remove one screw on each side of the control panel
assembly.
Figure 21 Location of screws on control panel service assembly
5. Grasping the panel by both sides, carefully pull it forward; the
user interface harness connected to the TCM and to the
display will limit how far away the control panel assembly can
be moved initially.
6. Disconnect the user interface harness from the TCM and the
display board.
7. Remove the four screws securing the sheet metal carrier to
the control panel assembly and set the carrier and display
board aside.
Copyright by BSH Home Appliances Corporation
This material is intended for the sole use of BSH authorized persons and may contain confidential and proprietary information. Any unauthorized review, use, copying, disclosure, or distribution in any format is prohibited.
MAY 2016
Figure 22 Location of screws on sheet metal carrier
8. Install the carrier and display board to the new control panel
service assembly using the four screws removed in step 7.
9. Re-connect the user interface harness, then install the new
control panel assembly.
10. Restore power and test operation.
6.3.2 Replacing the Display Module
The display module is secured to the sheet metal carrier with
four metal tabs.
Figure 23 Display board secured to carrier with the carrier's 4 metal tabs
1. Remove the control panel as described in Replacing the
Control Panel Assembly section.
2. Using pliers, gently straighten each metal tab so that they align
with the slots in the display board, then lift the board off the
tabs.
1901 Main St ▪ Suite 600 ▪ Irvine, CA 92614
Service Manual for Bosch 800 Series Gas Slide-in Ranges
Page 19 of 36
800 944-2904
