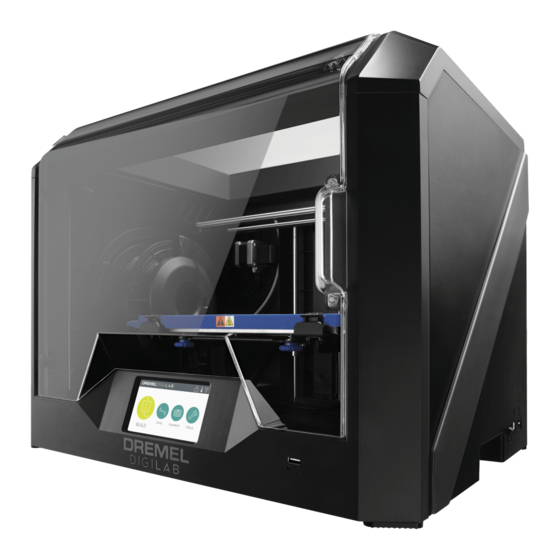
Dremel DigiLab 3D45 Kalibrasyon Kılavuzu
3D Yazıcılar Dremel DigiLab 3D45 için çevrimiçi göz atın veya pdf Kalibrasyon Kılavuzu indirin. Dremel DigiLab 3D45 2 sayfaları. Print removal
Ayrıca Dremel DigiLab 3D45 için: Hızlı Başlangıç Kılavuzu (2 sayfalar), Servis Talimatları (4 sayfalar), Kullanım Kılavuzu (2 sayfalar), Manuel (4 sayfalar), Servis Kılavuzu (4 sayfalar), Hızlı Başlangıç Kılavuzu (2 sayfalar)

Having the correct nozzle gap is vital to achieving successful prints. The nozzle gap, also referred to as Z-Gap, is
the distance of the nozzle to the build platform when the first layer is being printed. It is important to ensure that
the first layer sticks well to the build platform, therefore, the nozzle gap needs to be ideal. Too large of a nozzle
gap may lead to a not well adhered first layer, leading to object shifting, and a too small nozzle gap may lead to a
non-visible first layer, possibly leading to clogging issues.
Please click here for Video Tutorial
Step 1: Go to Calibrate screen
From printer home screen, navigate to tools, calibrate,
and then assisted nozzle calibration. Advanced users
can use the nozzle gap calibration directly (non-assisted
mode).
TOOLS
Advanced users can move to Step 4.
Step 2: Open Assisted Nozzle
Calibration screen
a. Apply glue on the build platform. See glue application
bulletin.
b. Ensure leveling switch is free of glue residue and that
the filament has been loaded.
c. Level the build platform if needed.
Step 3: Assisted Nozzle Calibration
a. Nozzle will start heating up in order to perform the
calibration.
b. In this process, three small rectangles will be printed
side by side. Rectangle A will be printed with an off-
set of +0.1mm from the current setting, Rectangle B
will be printed with no offset, and Rectangle C will
be printed with a -0.1mm offset. An additional
rectangle will be printed enclosing Rectangles A, B,
3D45 Nozzle Gap Calibration
SERVICE INSTRUCTIONS
CALIBRATE
ASSISTED NOZZLE
CALIBRATION
and C in order to prime the nozzle and make sure fil-
ament is flowing correctly before starting the print.
Step 4: Nozzle Gap Calibration Analysis
a. Once the print has been completed, there will be
three
different
rectangles
different Nozzle Gap offsets.
representing
A
B
C
three
