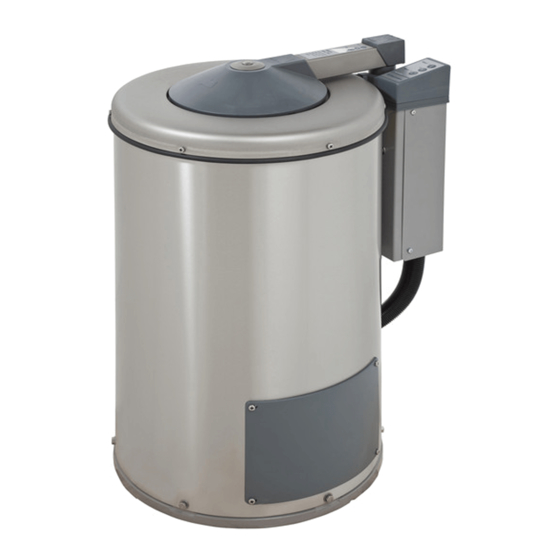
Electrolux C260R Servis Kılavuzu - Sayfa 39
Havalandırma Davlumbazı Electrolux C260R için çevrimiçi göz atın veya pdf Servis Kılavuzu indirin. Electrolux C260R 41 sayfaları. Hydro-extractor
Ayrıca Electrolux C260R için: Kullanım Kılavuzu (24 sayfalar), Kullanım ve Kurulum Kılavuzu (20 sayfalar)

Service
manual
• Remove the bolts around base of outer casing.
Lift outer casing and control unit straight
upwards.
• Remove the three or four nuts securing the
9
bushing. Lift the motor straight upwards.
• Replace the two rubber bushings.
When you replace the upper bushing, do not
remove the supporting journal from the motor. It
can be difficult to adjust when it is put back.
Instead, remove the old bushing by cutting it off.
10
Make a cut in the new bushing as illustrated and
put it in place on the supporting journal. The
vibration from the extractor causes the surfaces
of the cut to vulcanise together after it has been
in use a while.
• C240R
- Position supporting journal in recess in base
11
plate and loosely tighten the three nuts above
the bushing.
• C260R, C290R
- Position supporting journal in frame. Make sure
12
that the pins on both supporting journal and
frame are corrected positioned in the
corresponding holes of the lower rubber
bushing.
- Tighten the outer nuts loosely at the top of the
bushing. Use the spring washers under the
nuts.
• Reinstall the outer casing and the cables to the
automatic control unit.
• Check the drum and complete the adjustment
of the four nuts according to the instructions
under the heading "checking and adjusting the
rigidity of the drum mounting.
487 03 29 91
42. Drum
9
10
11
15mm
12
42
42.3
