Daikin R32 Split Series Kurulum Kılavuzu - Sayfa 12

Fan Daikin R32 Split Series için çevrimiçi göz atın veya pdf Kurulum Kılavuzu indirin. Daikin R32 Split Series 20 sayfaları. R32 split series
Ayrıca Daikin R32 Split Series için: Kurulum Kılavuzu (17 sayfalar), Kurulum Kılavuzu (16 sayfalar), Kurulum Kılavuzu (16 sayfalar), Kurulum Kılavuzu (16 sayfalar), Kurulum Kılavuzu (17 sayfalar), Kurulum Kılavuzu (16 sayfalar), Kurulum Kılavuzu (14 sayfalar), Kurulum Kılavuzu (14 sayfalar), Kullanım Kılavuzu (16 sayfalar), Kullanım Kılavuzu (16 sayfalar), Kullanım Kılavuzu (8 sayfalar), Kurulum Kılavuzu (17 sayfalar), Kurulum Kılavuzu (16 sayfalar), Kurulum Kılavuzu (20 sayfalar), Kurulum Kılavuzu (20 sayfalar), Kurulum Kılavuzu (16 sayfalar), Kurulum Kılavuzu (16 sayfalar), Kurulum Kılavuzu (14 sayfalar), Kurulum Kılavuzu (14 sayfalar), Kurulum Kılavuzu (16 sayfalar), Kurulum Kılavuzu (17 sayfalar), Kurulum Kılavuzu (20 sayfalar), Kurulum Kılavuzu (13 sayfalar)
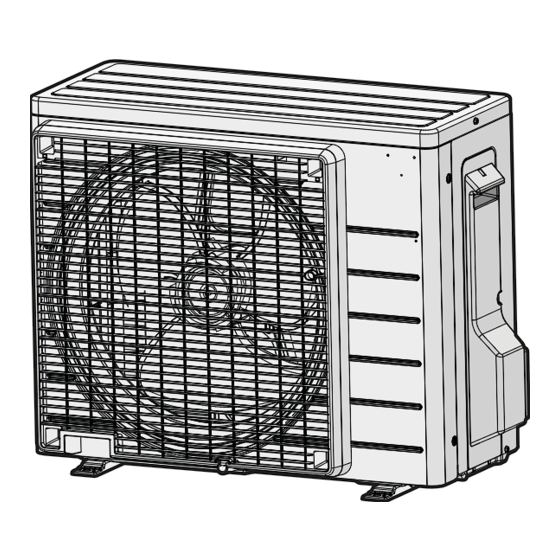
Daikin R32 Split Series Kurulum Kılavuzu

8 Finishing the outdoor unit installation

c g e d f
DC+
DC-
a
h
a
Multimeter (DC voltage range)
b
S80 – reversing solenoid valve lead wire
c
S70 – fan motor lead wire
d
LED
e
S90 – thermistor lead wire
f
S20 – electronic expansion valve lead wire
g
S40 – thermal overload relay lead wire
h
DB1 - diode bridge
7.1
Specifications of standard wiring
components
Component
Power supply cable Voltage
Phase
Frequency
Wire sizes
Interconnection cable
(indoor↔outdoor)
Recommended circuit breaker
Residual current device
7.2
To connect the electrical wiring to
the outdoor unit
1 Remove the service cover.
2 Open the wire clamp.
3 Connect the interconnection cable and power supply as follows:
a
a
Interconnection cable
b
Power supply cable
c
Circuit breaker
d
Residual current device
e
Power supply
f
Earth
Installation manual
12
b
220~240 V
1~
50 Hz
3-core cable
2(a)(b)
2(b)
2.5 mm
/ 4.0 mm
(a)
H05RN-F (60245 IEC 57)
(b)
H07RN-F (60245 IEC 66)
4-core cable
2
2
1.5 mm
~2.5 mm
and
applicable for 220~240 V
H05RN-F (60245 IEC 57)
16 A
MUST comply with
applicable legislation
50 Hz
c
d
220-240 V
b
e
f
4 Tighten the terminal screws securely. We recommend using a
Phillips screwdriver.
8
Finishing the outdoor unit
installation
8.1
To finish the outdoor unit
installation
DANGER: RISK OF ELECTROCUTION
▪ Make sure that the system is earthed properly.
▪ Turn off the power supply before servicing.
▪ Install the switch box cover before turning on the power
supply.
1 Insulate and fix the refrigerant piping and cables as follows:
d
c
a
e
b
f
g
a
Gas pipe
b
Gas pipe insulation
c
Interconnection cable
d
Field wiring (if applicable)
e
Liquid pipe
f
Liquid pipe insulation
g
Finishing tape
2 Install the service cover.
9

Configuration

9.1

Facility setting

Use this function for cooling at low outdoor temperature. This
function is designed for facilities such as equipment of computer
rooms. NEVER use in a residence or office where people occupy the
space.
9.1.1

To set the facility mode

When cutting jumper J6 on the PCB, the operation range will expand
to –15°C. The facility mode will stop if the outdoor temperature drops
below –20°C and resume when the temperature rises again.
RXTM-R_RXTP-R_ARXTP-R_RXTA-B
R32 split series
3P482320-14U – 2021.03